
Publish your event on Ritmix.
Overview
Publishing events on Ritmix is fairly straightforward and does not cost anything.
Here's what you need:
- A smartphone with Ritmix installed.
- A bank account.
Step 1: Signup For A Ritmix Profile
If you already have a Ritmix account, skip this step.
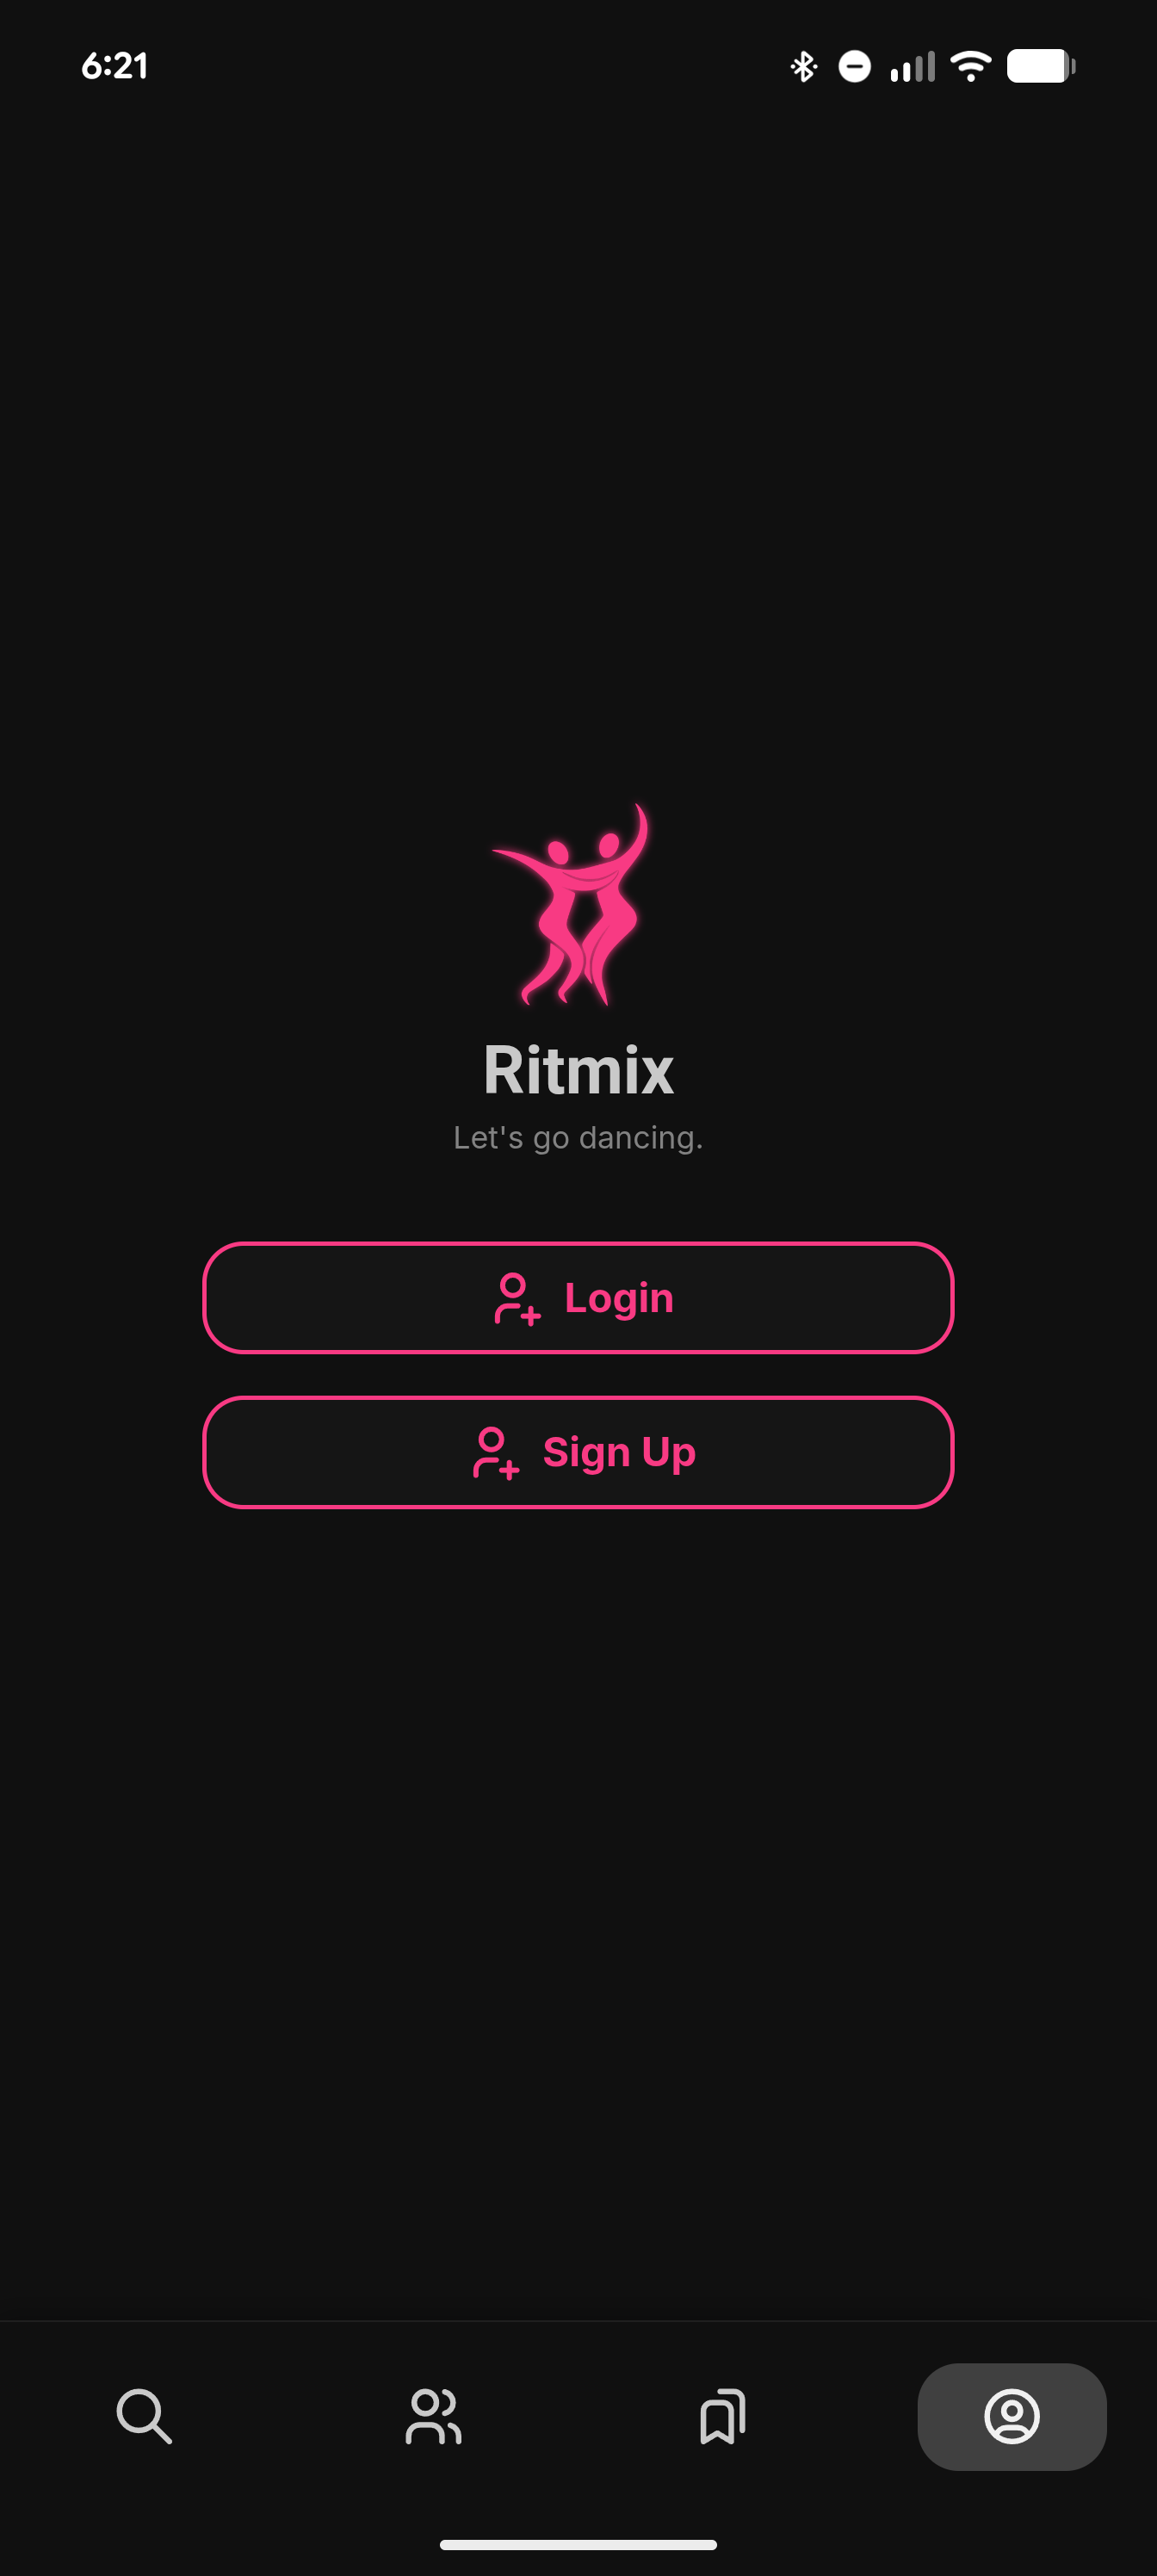
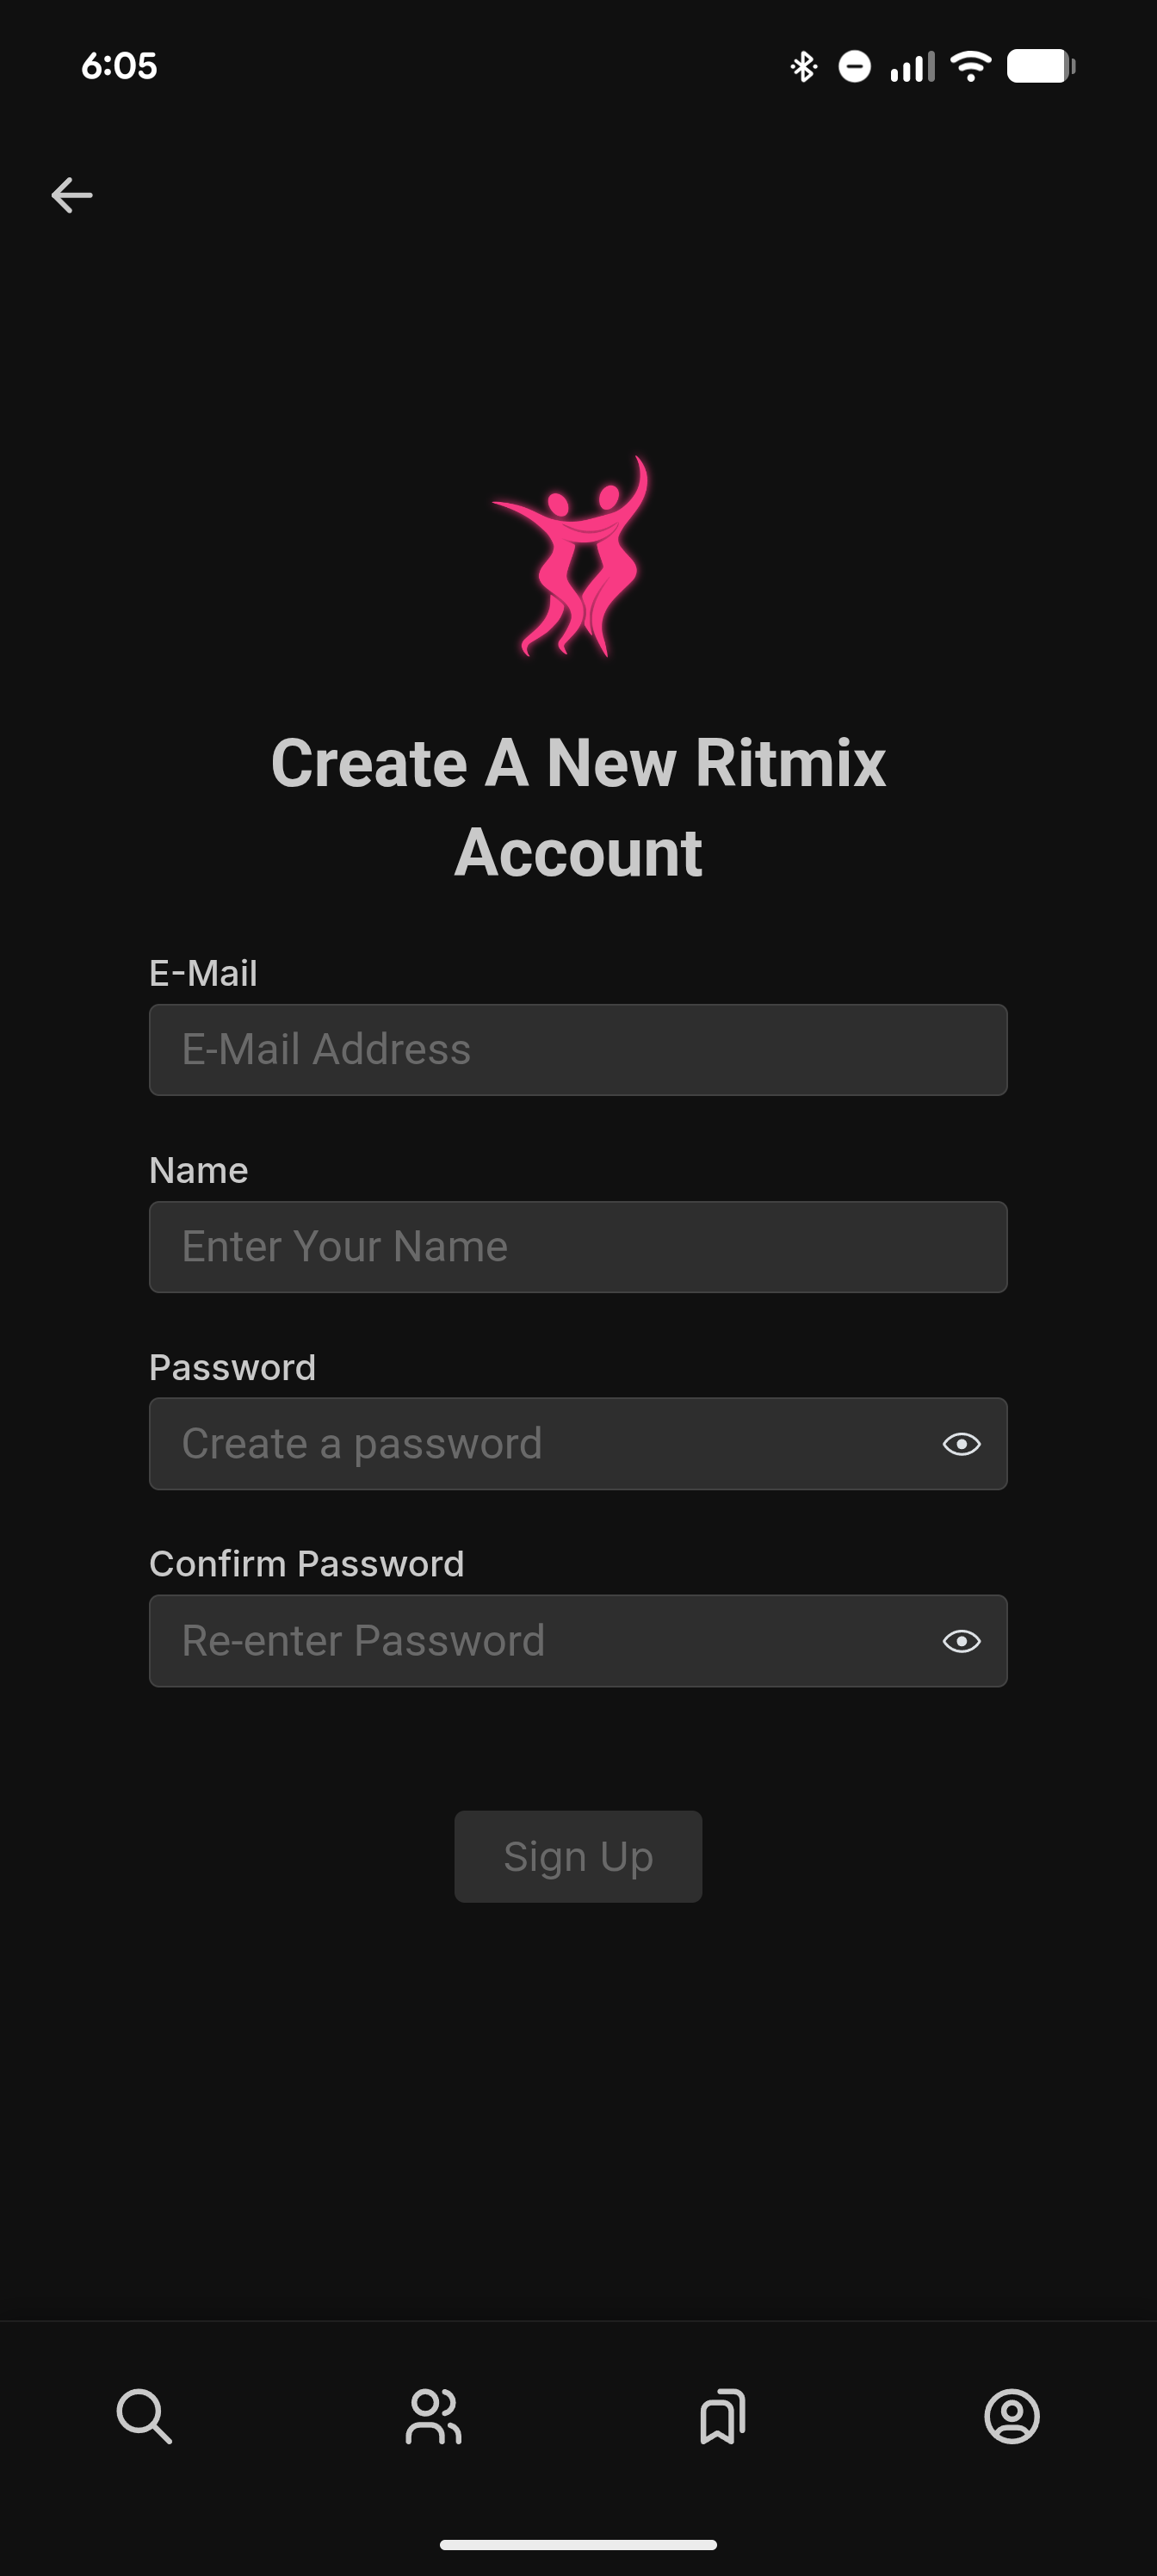
In order to publish an event, you must have a Ritmix account. To create an account
- Profile tab
- Signup
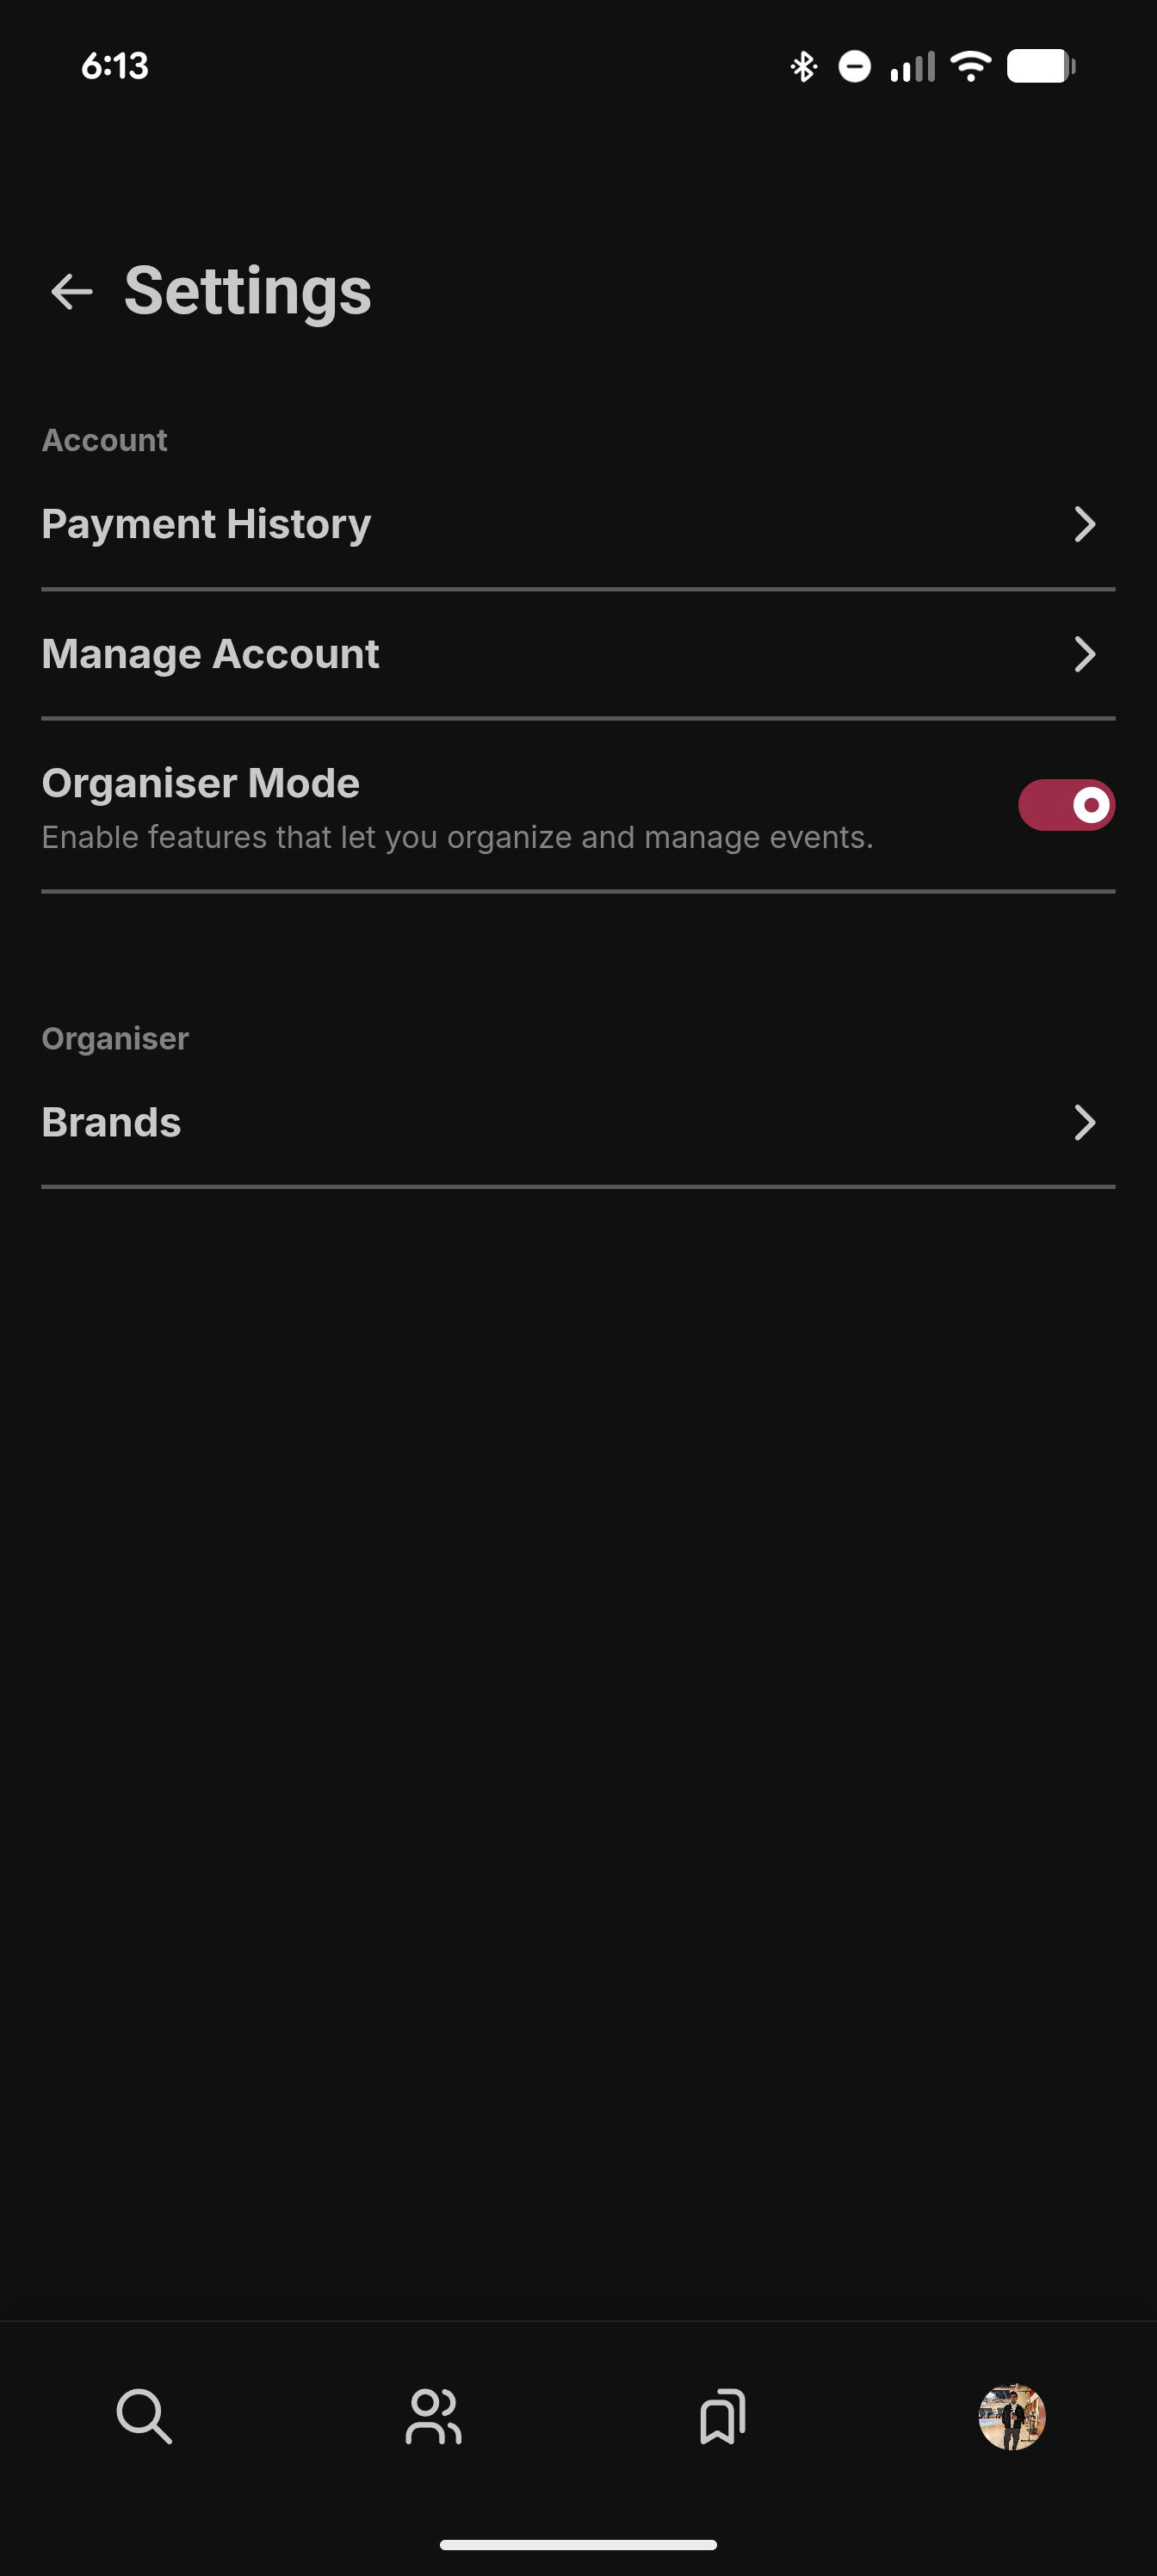
Step 2: Enable Organizer Mode
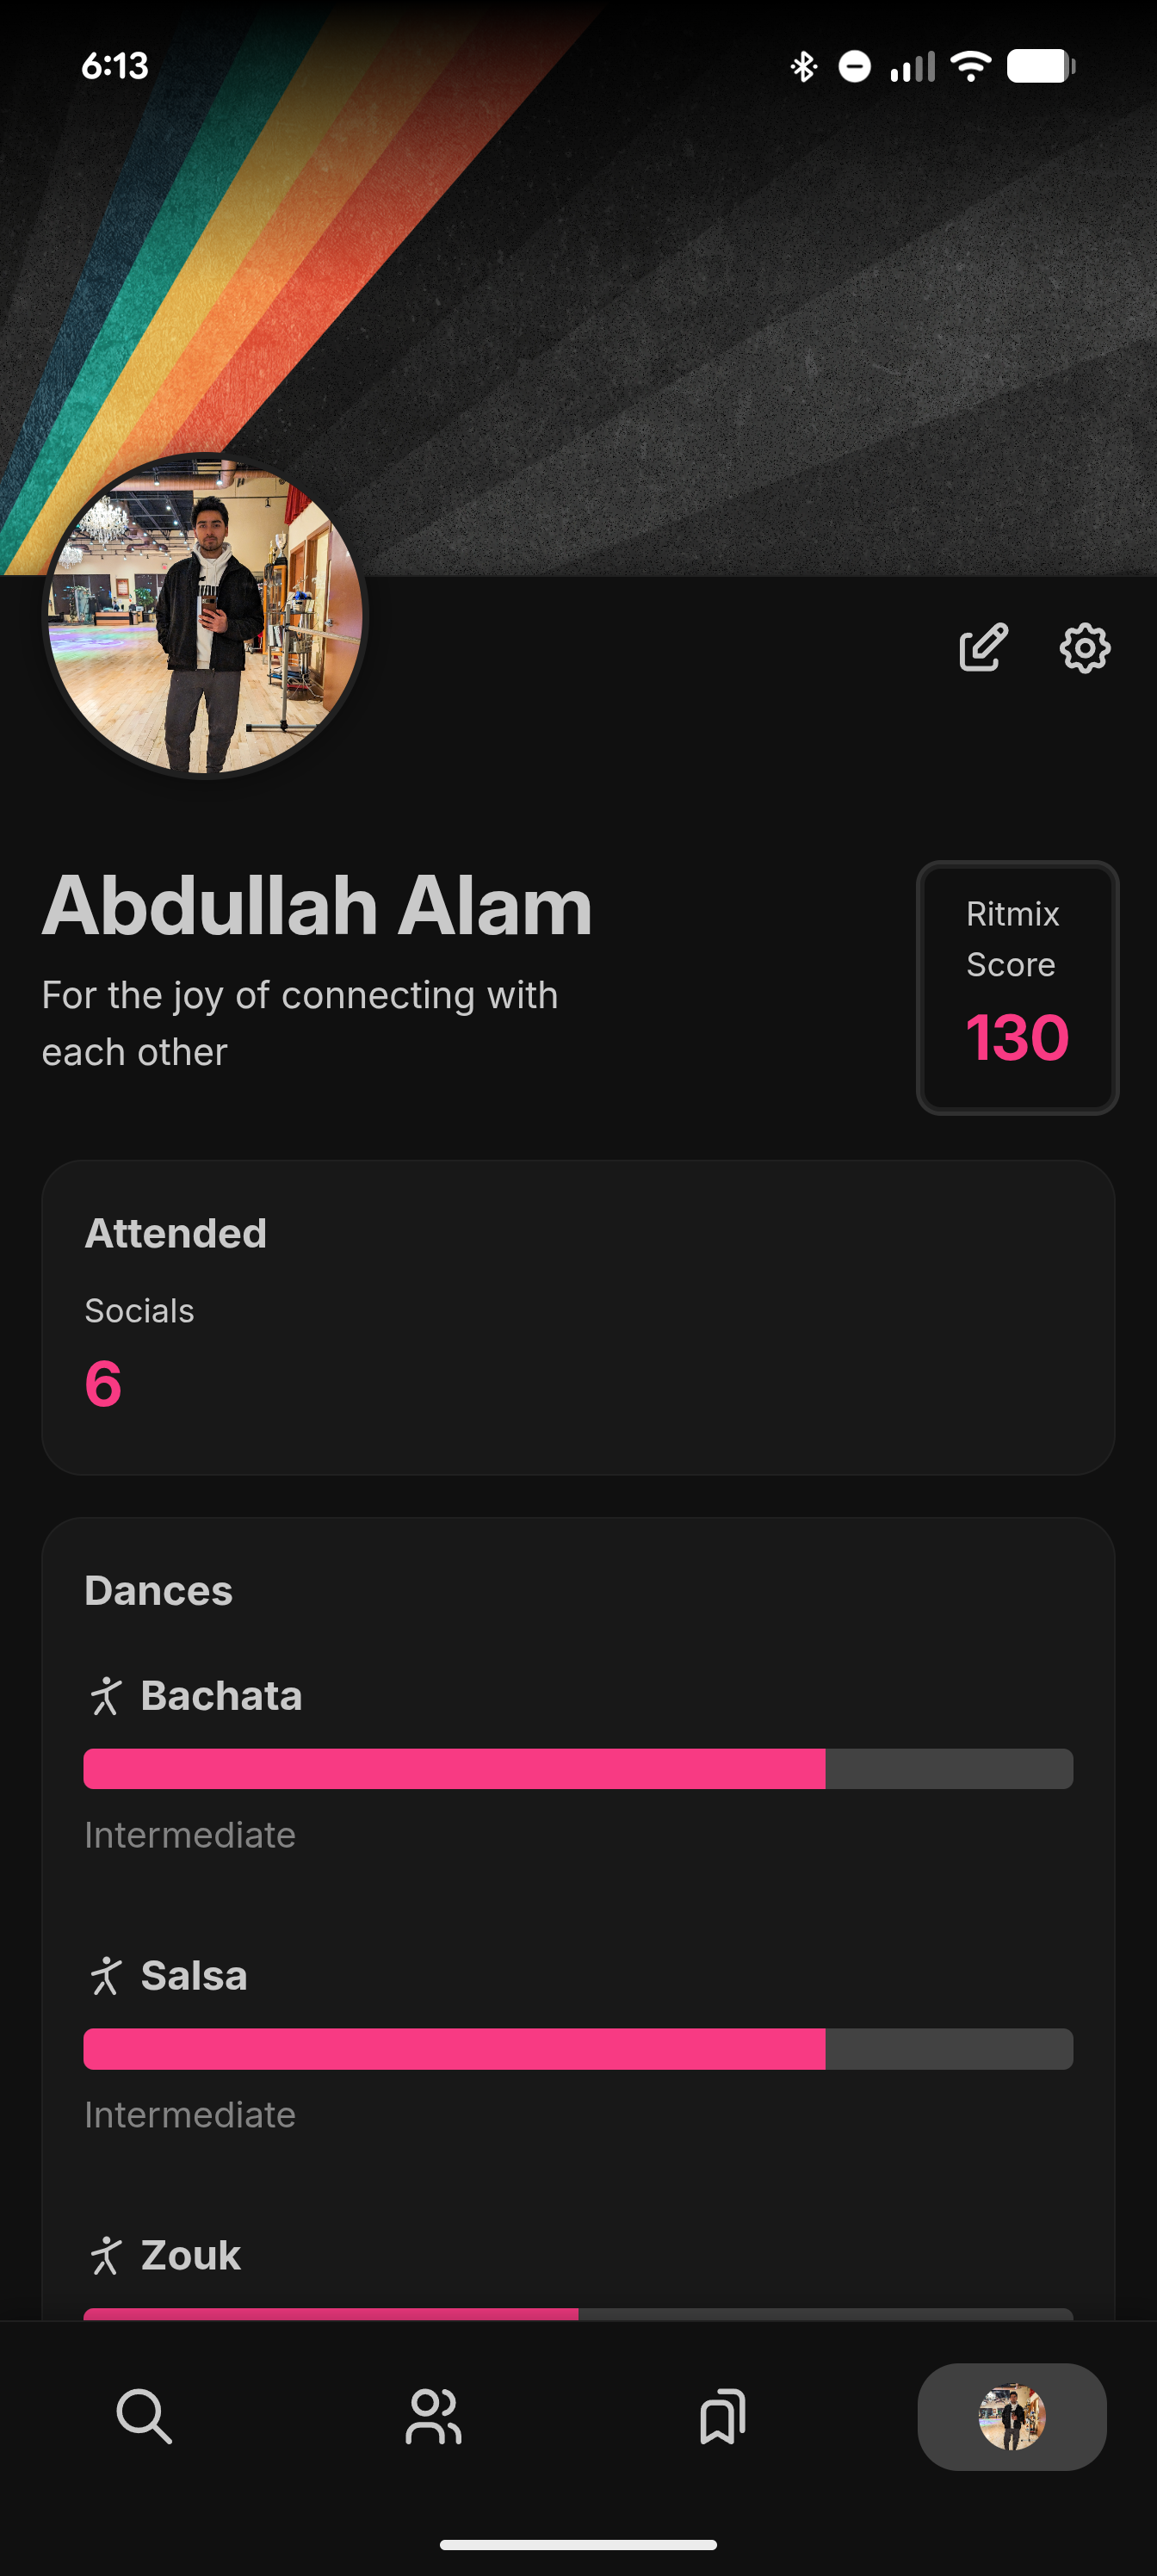
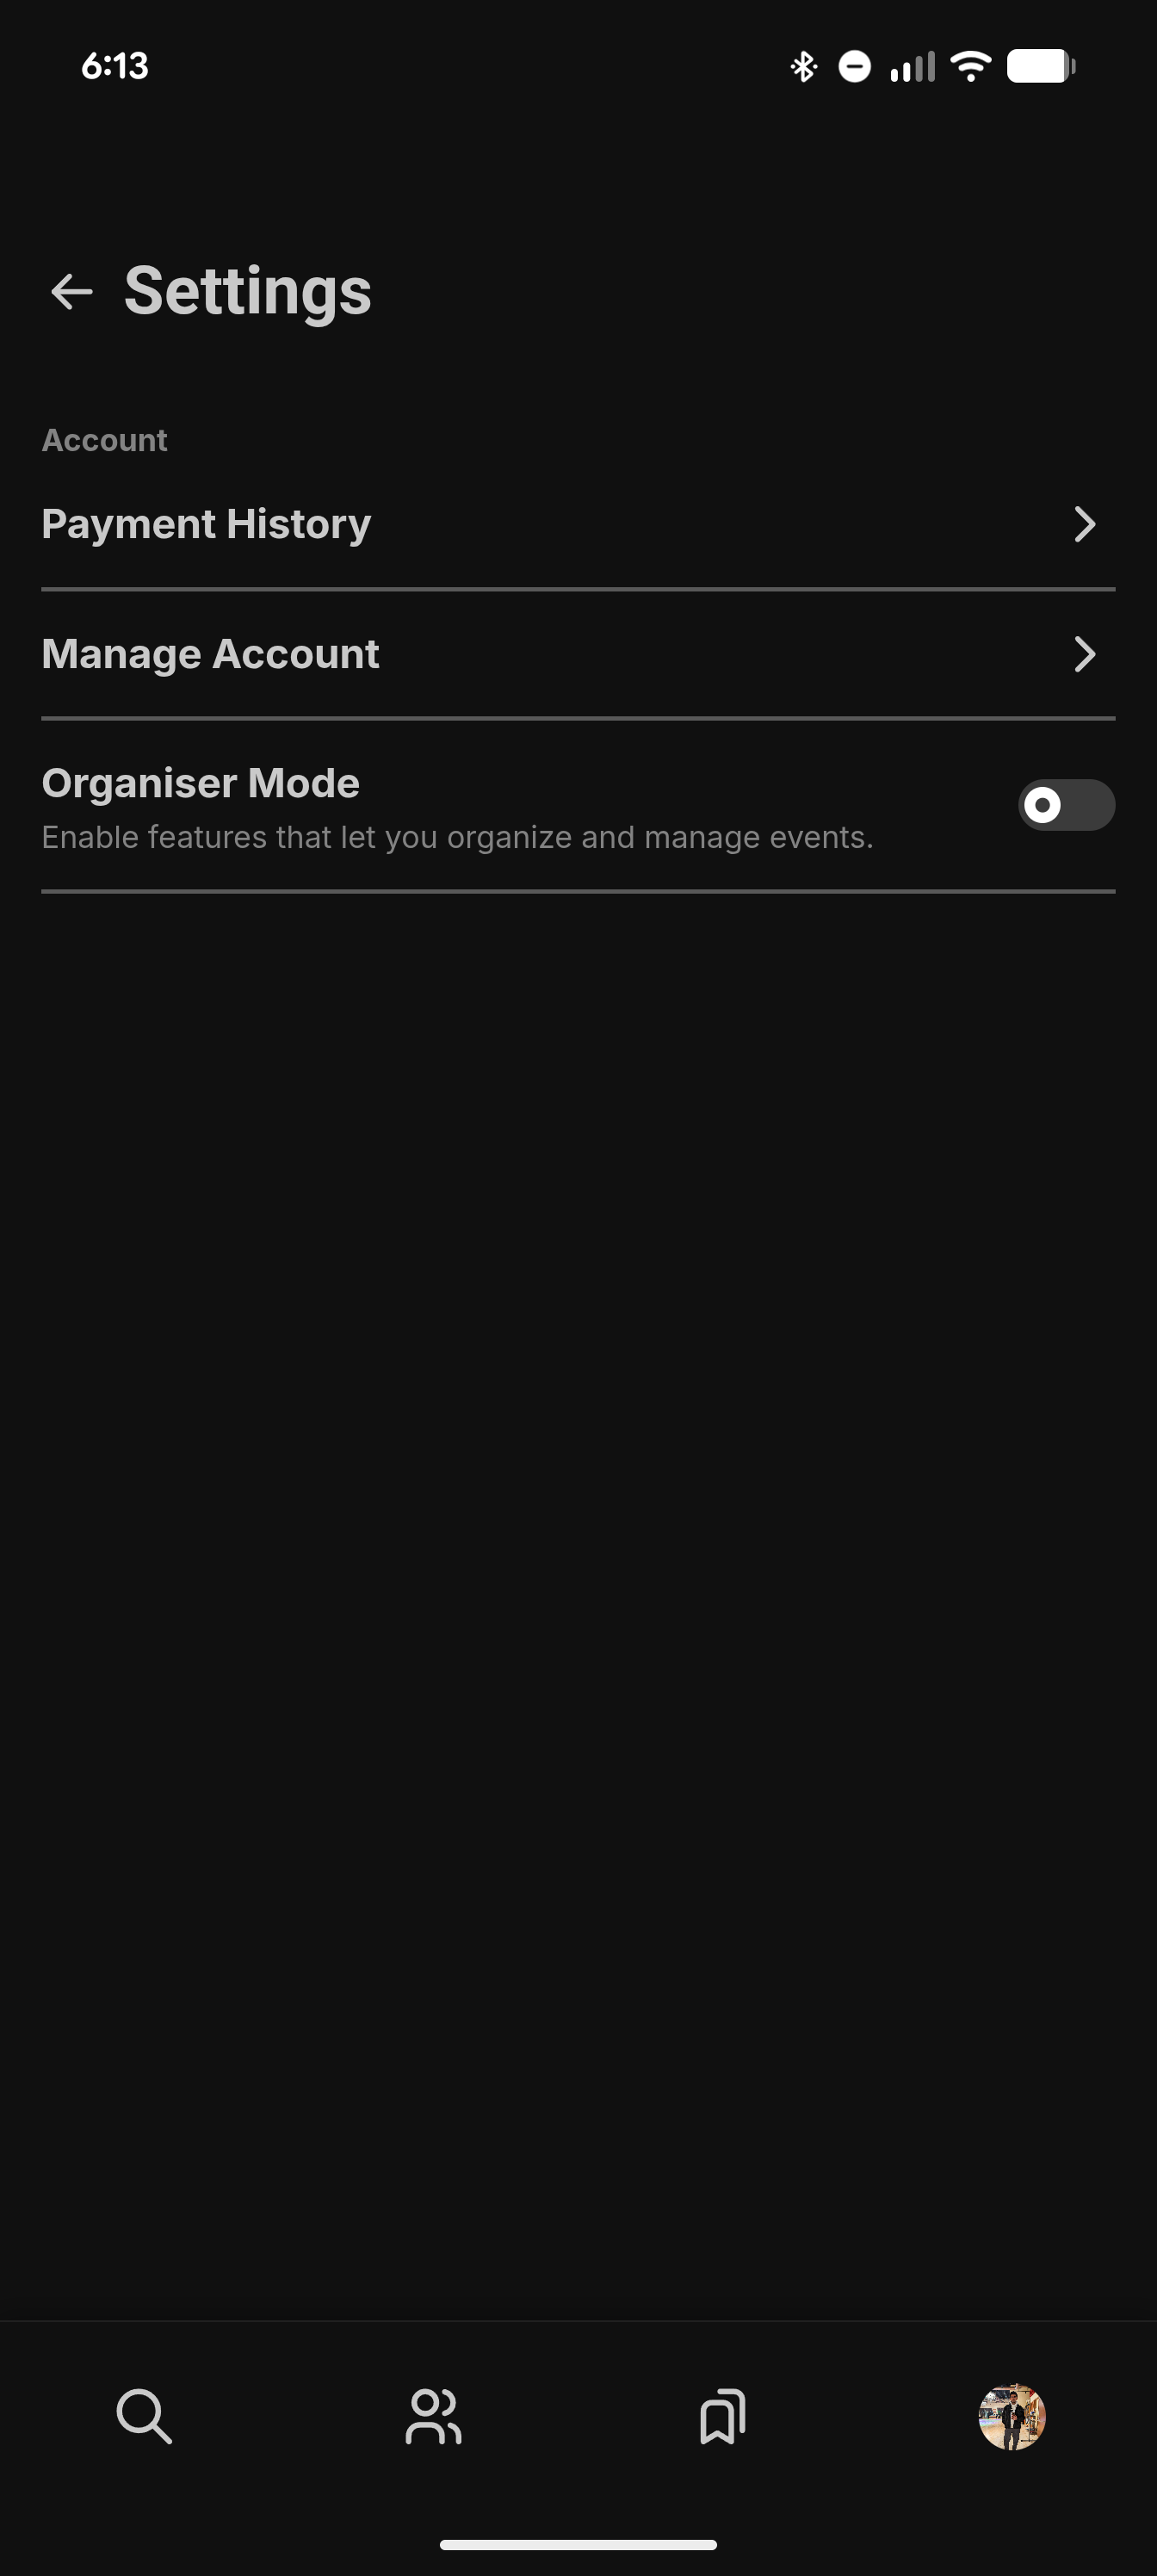
- Profile
- Settings
- Enable Organizer Mode
Step 2: Create a brand
Every event on Ritmix is published under a Brand. You can create as many Brands as you need to represent the different identities you organize events under.
A Brand could be your dance studio, company, a specific brand owned by your company, or your personal name.
The Brand is what attendees will see as the organizer of the event.
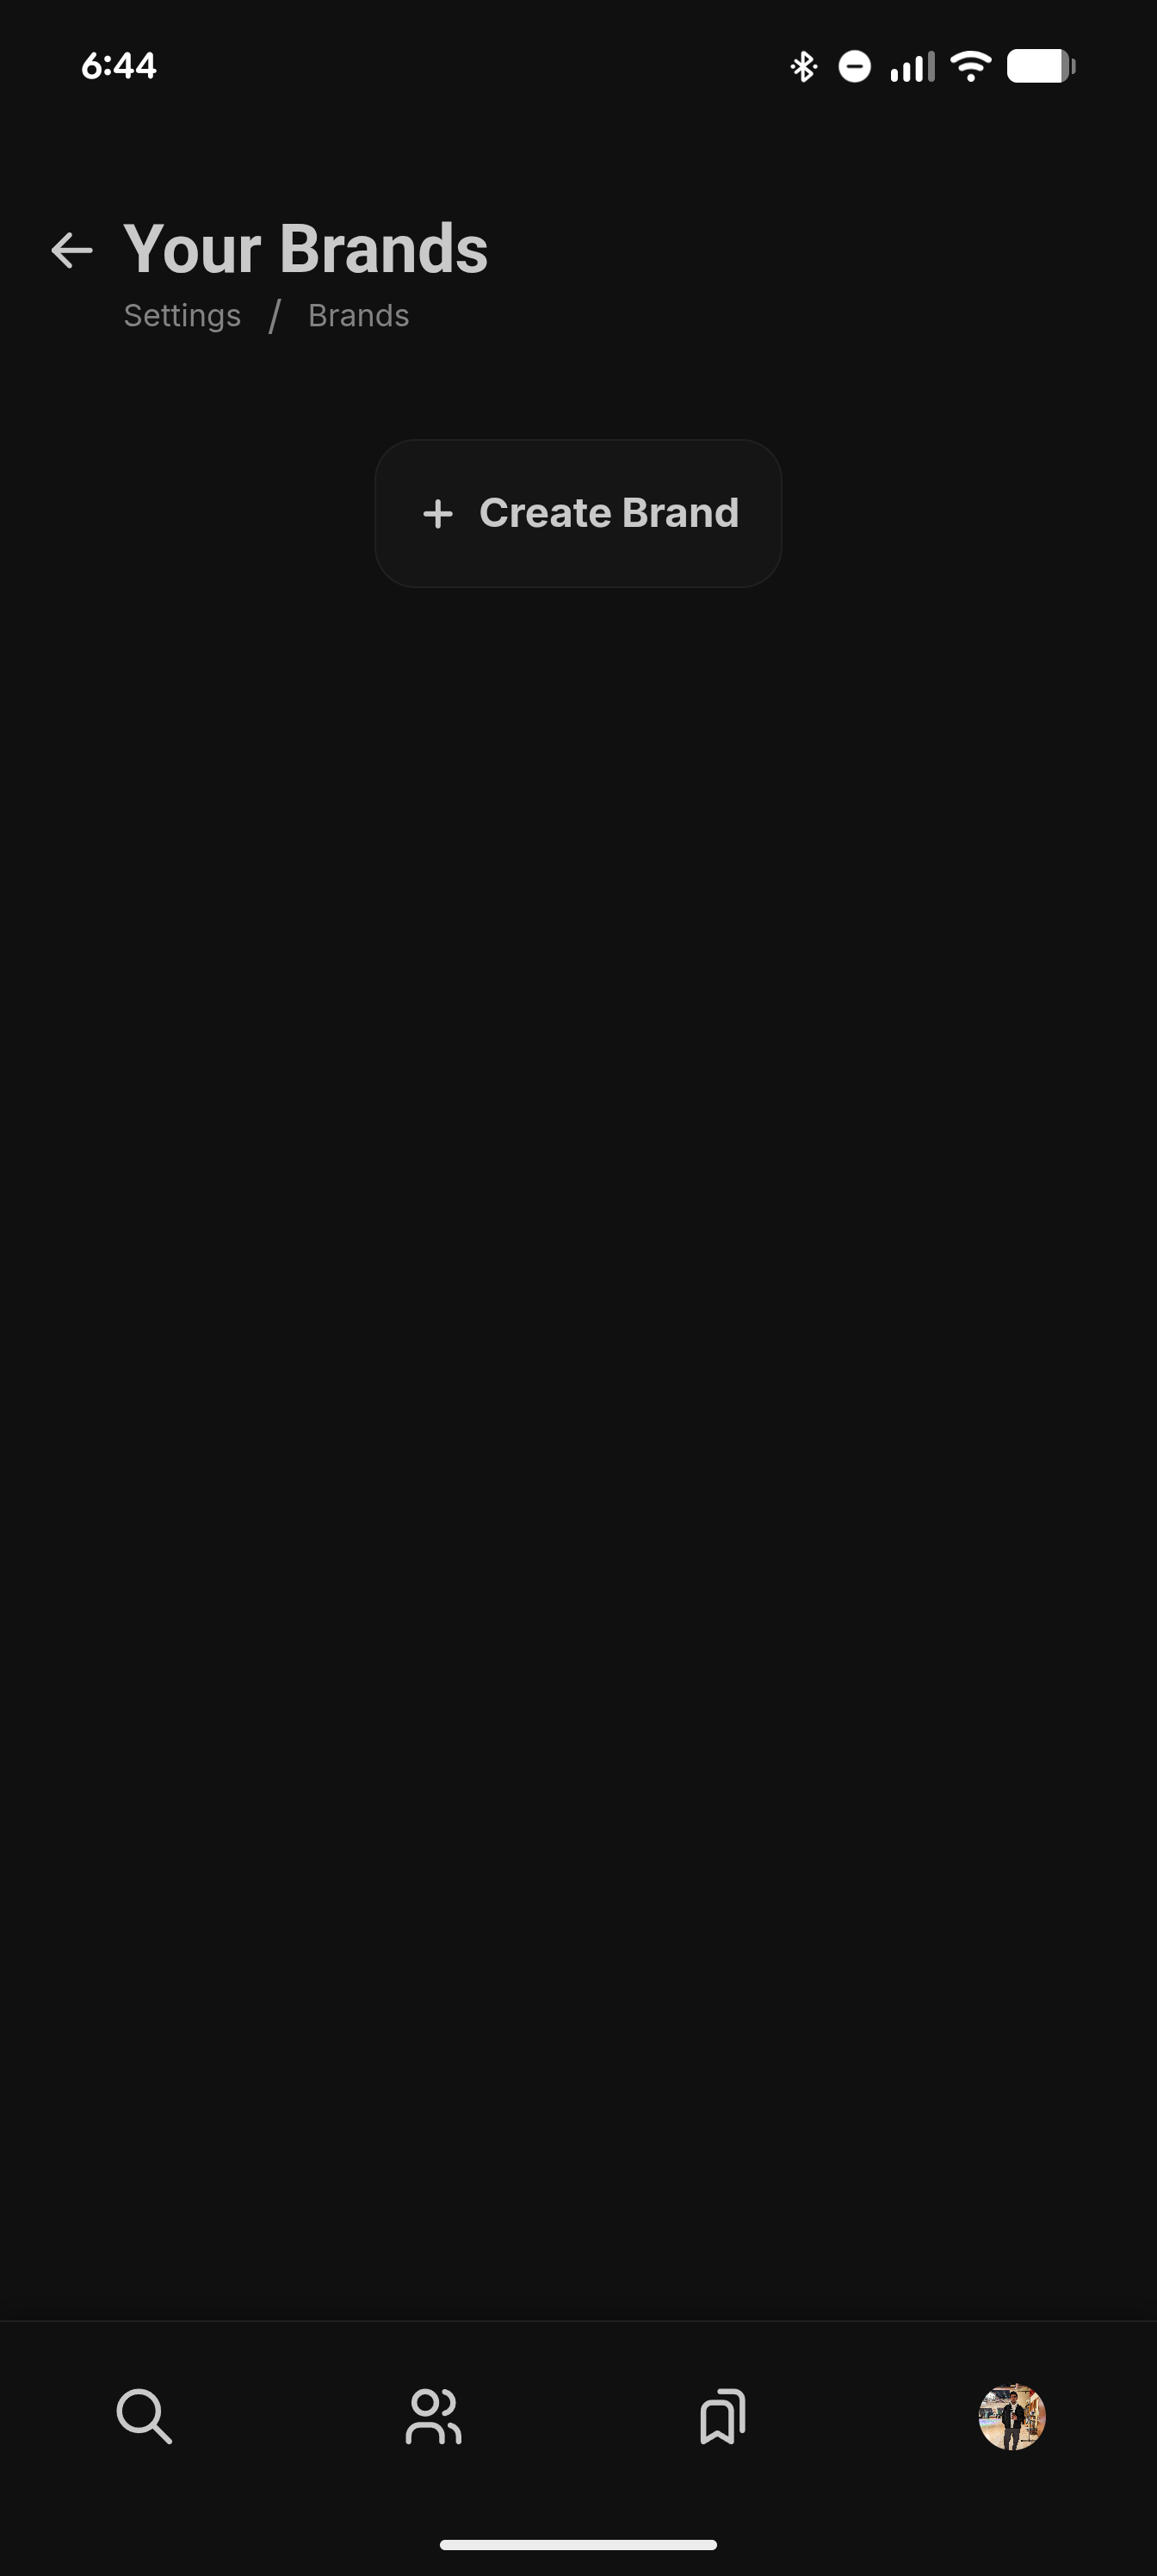
To create a Brand:
- Profile
- Settings
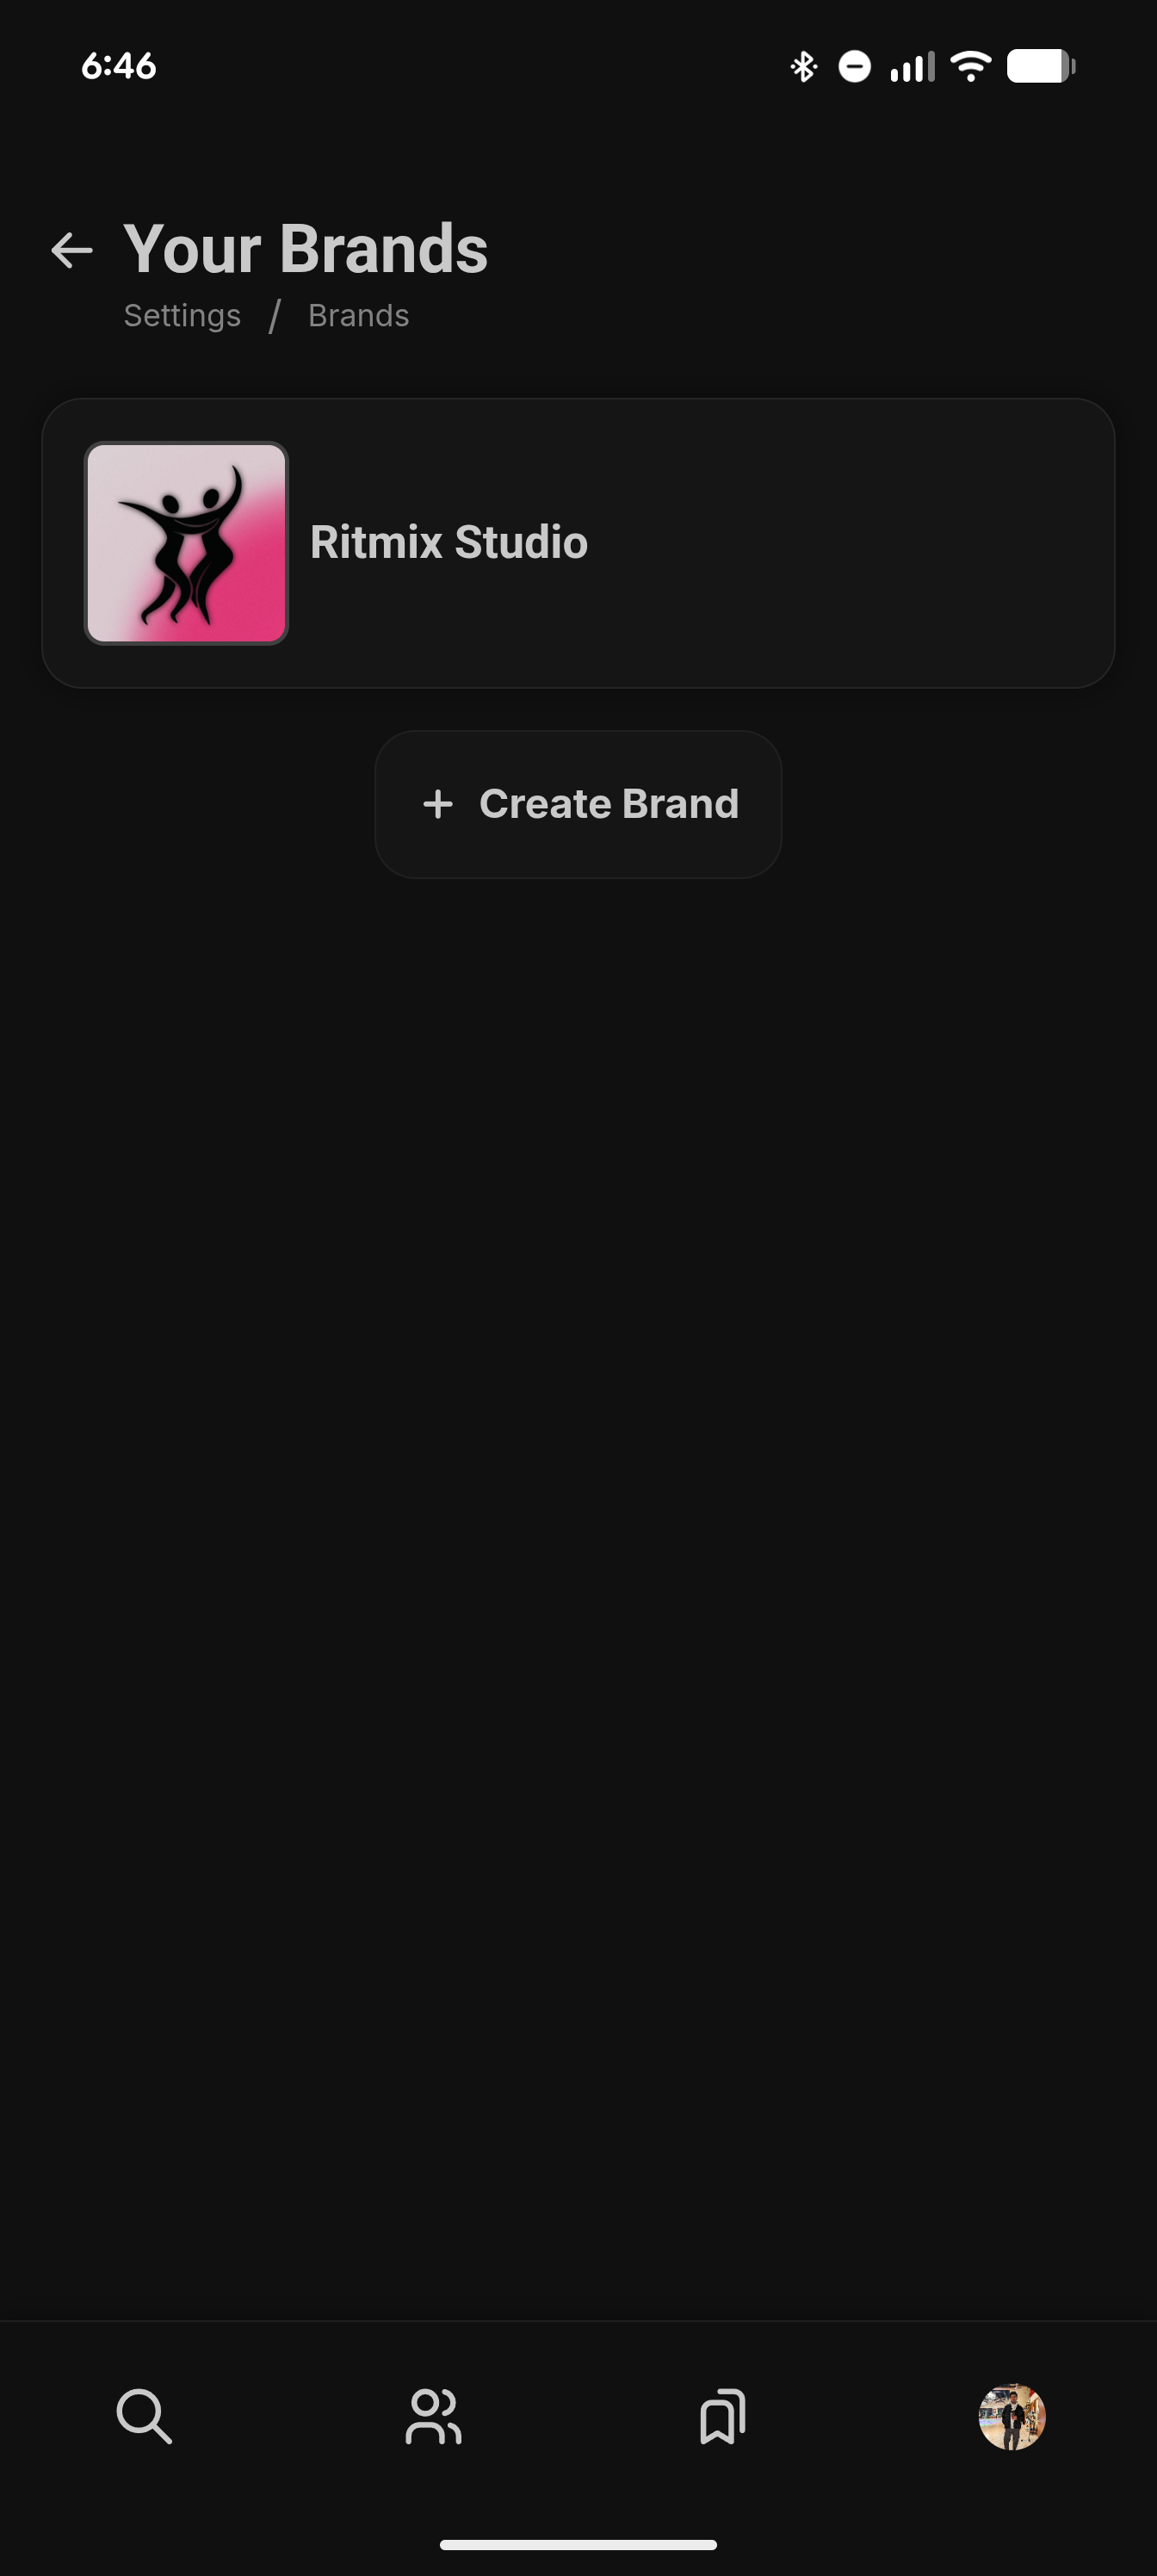
- Brands
- Create Brand
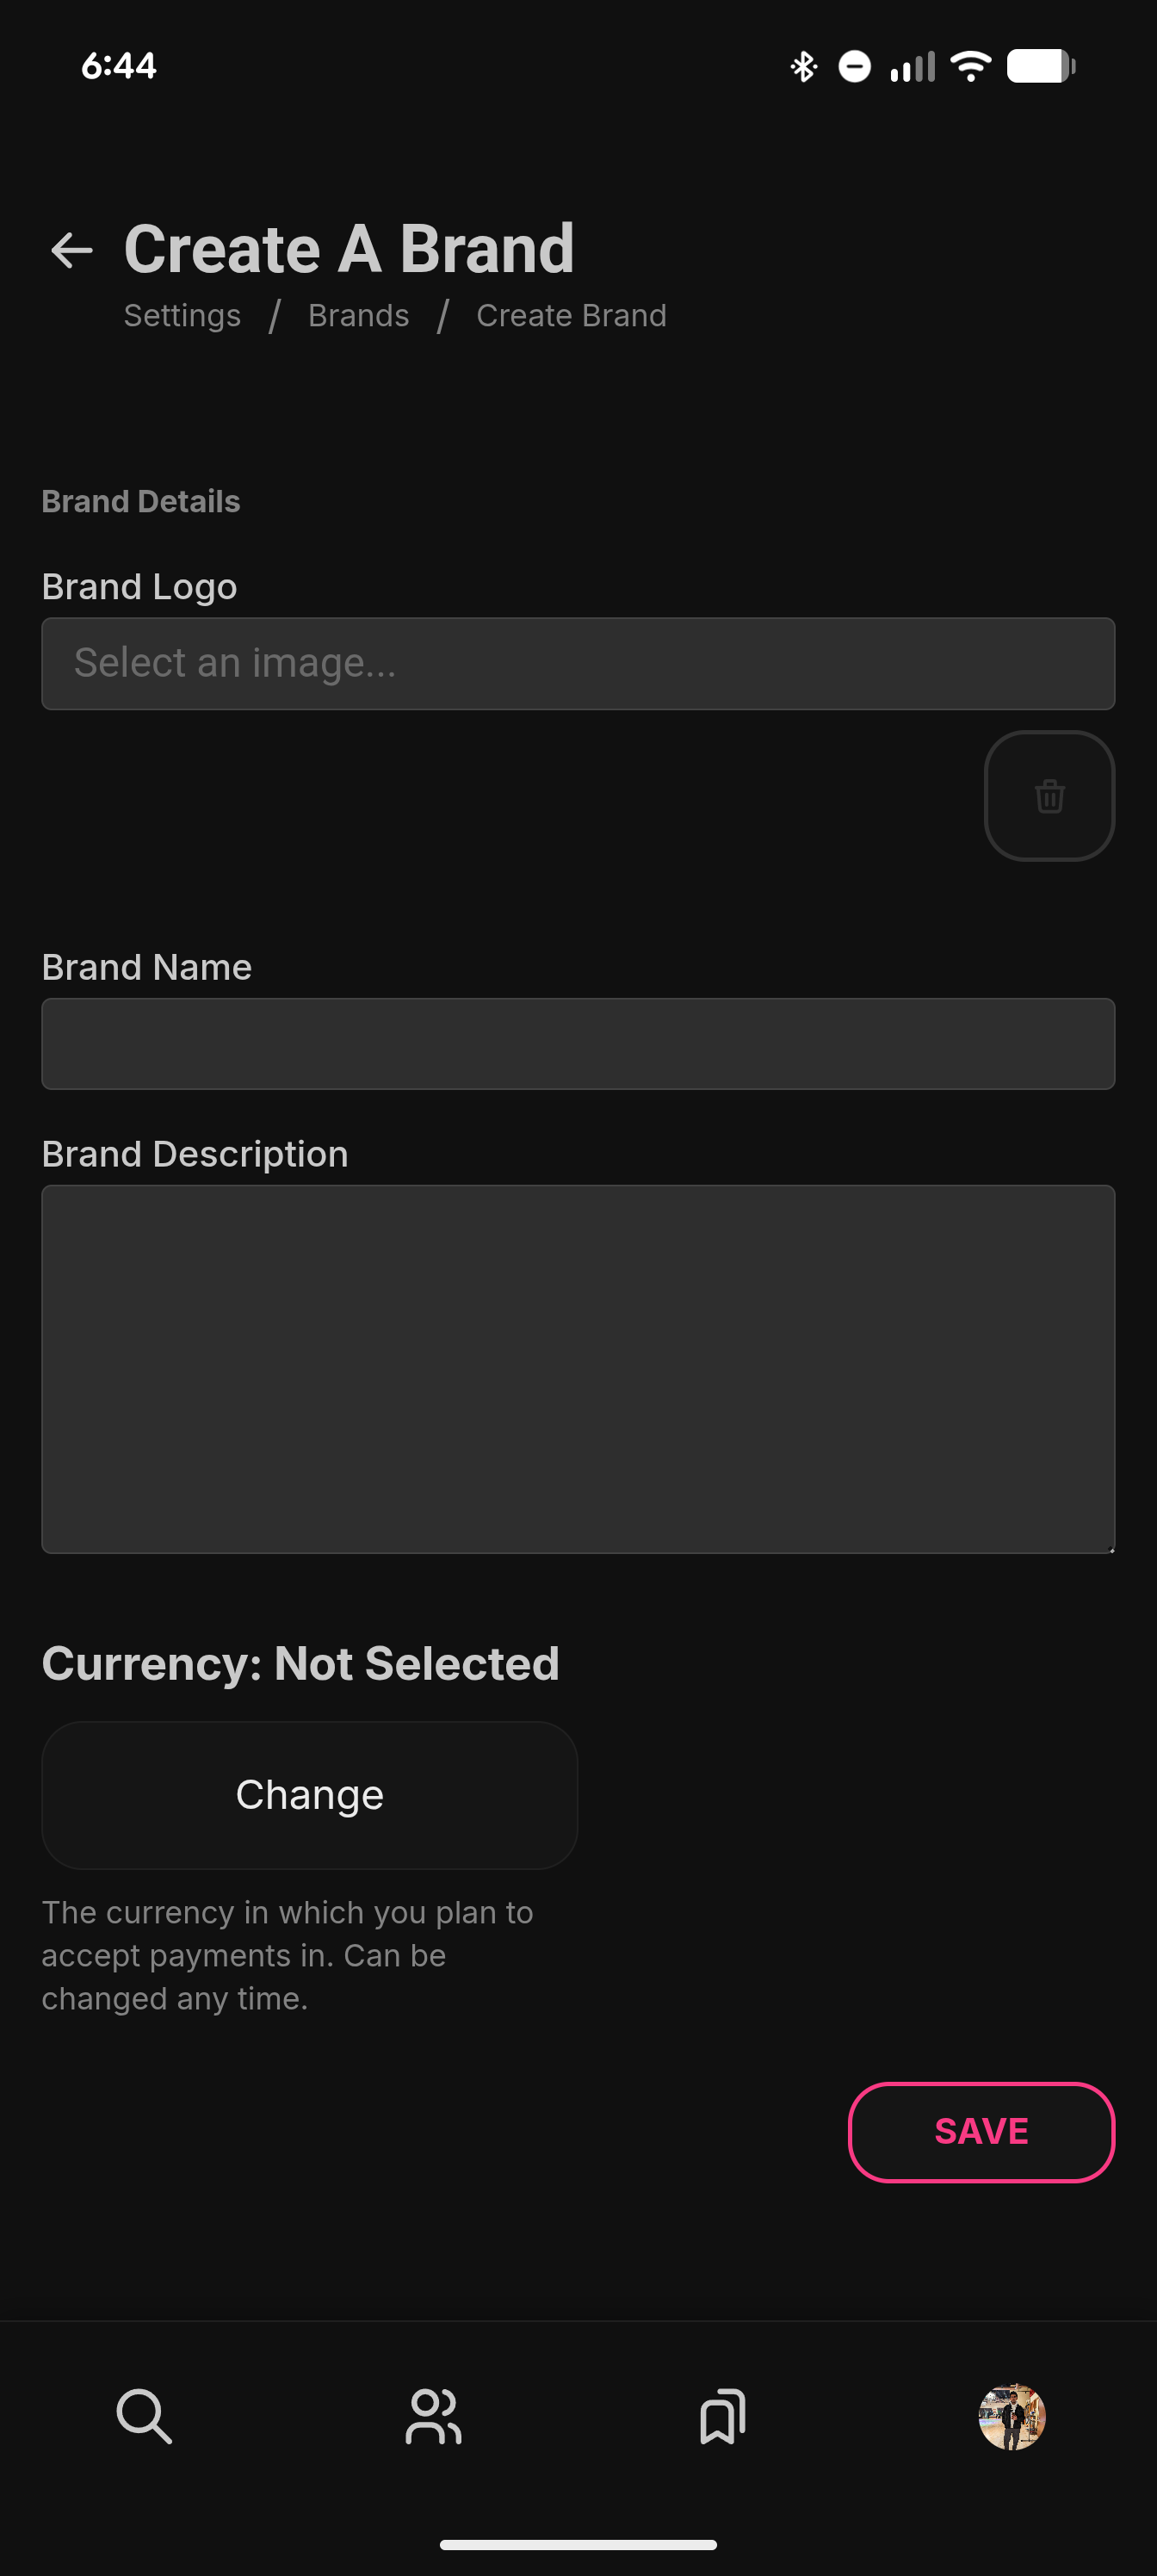
Fill in the details about your brand:
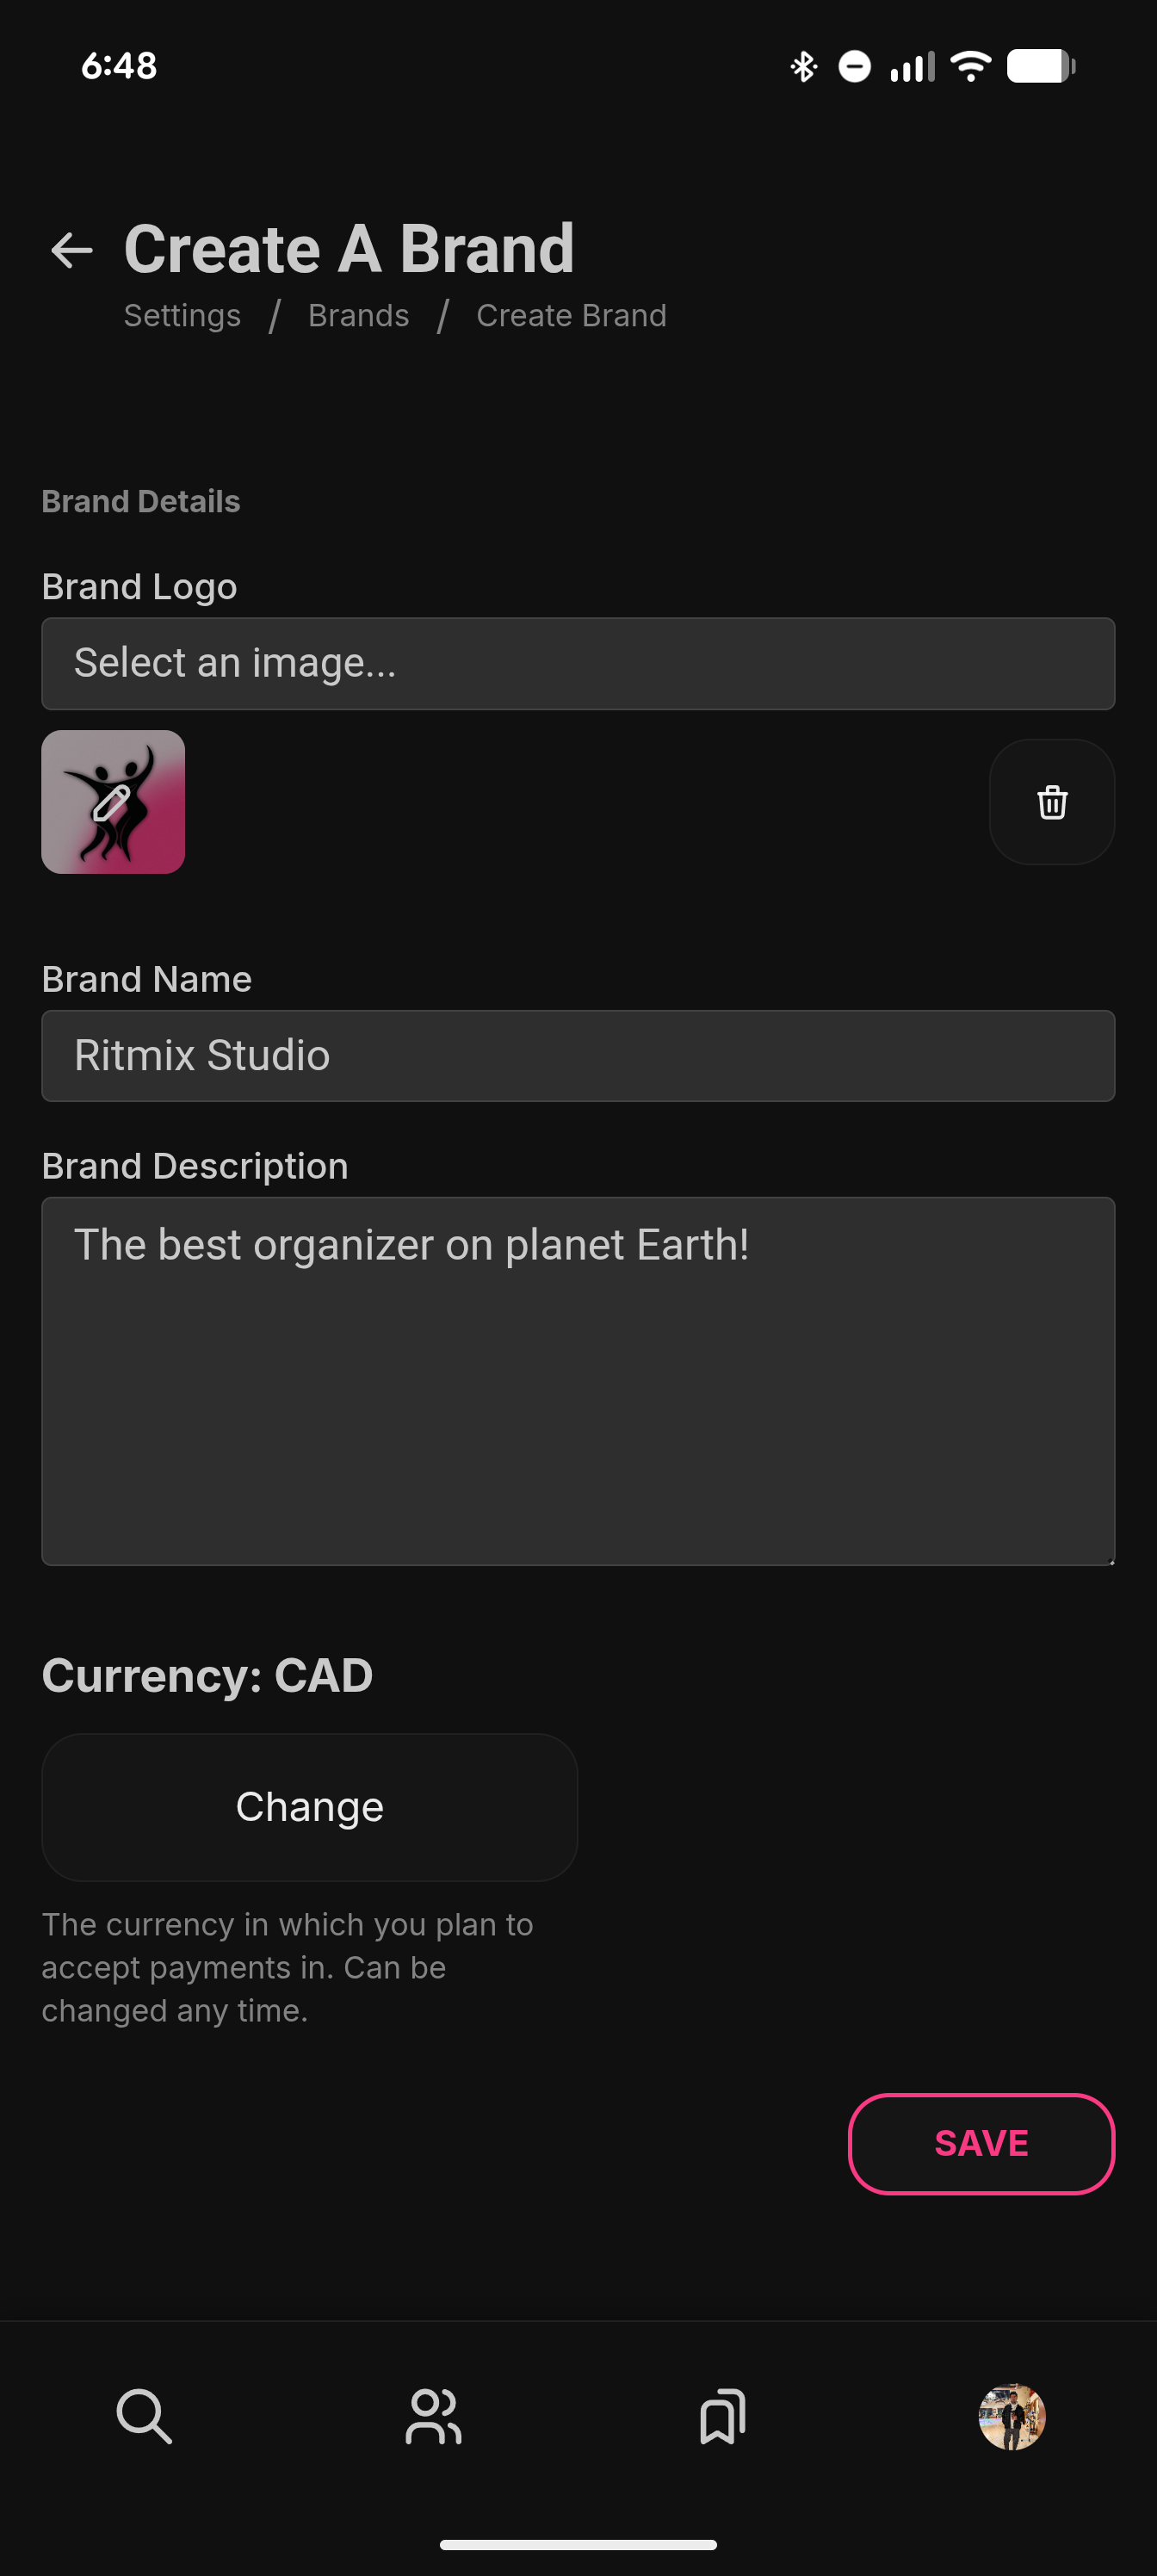
Once you hit Save, the brand will show up in your brands list.
Step 3: Connect Your Bank Account
To publish an event, you'll need to connect a bank account to your brand. This is required even for free events or events where guests pay at the door. This helps us prevent spam and ensure only legitimate events get published.
Don't worry: your account will never be charged. Your connected bank account is only used to receive payments from ticket sales for your events.
- Profile
- Settings
- Brands
- Select Your Brand
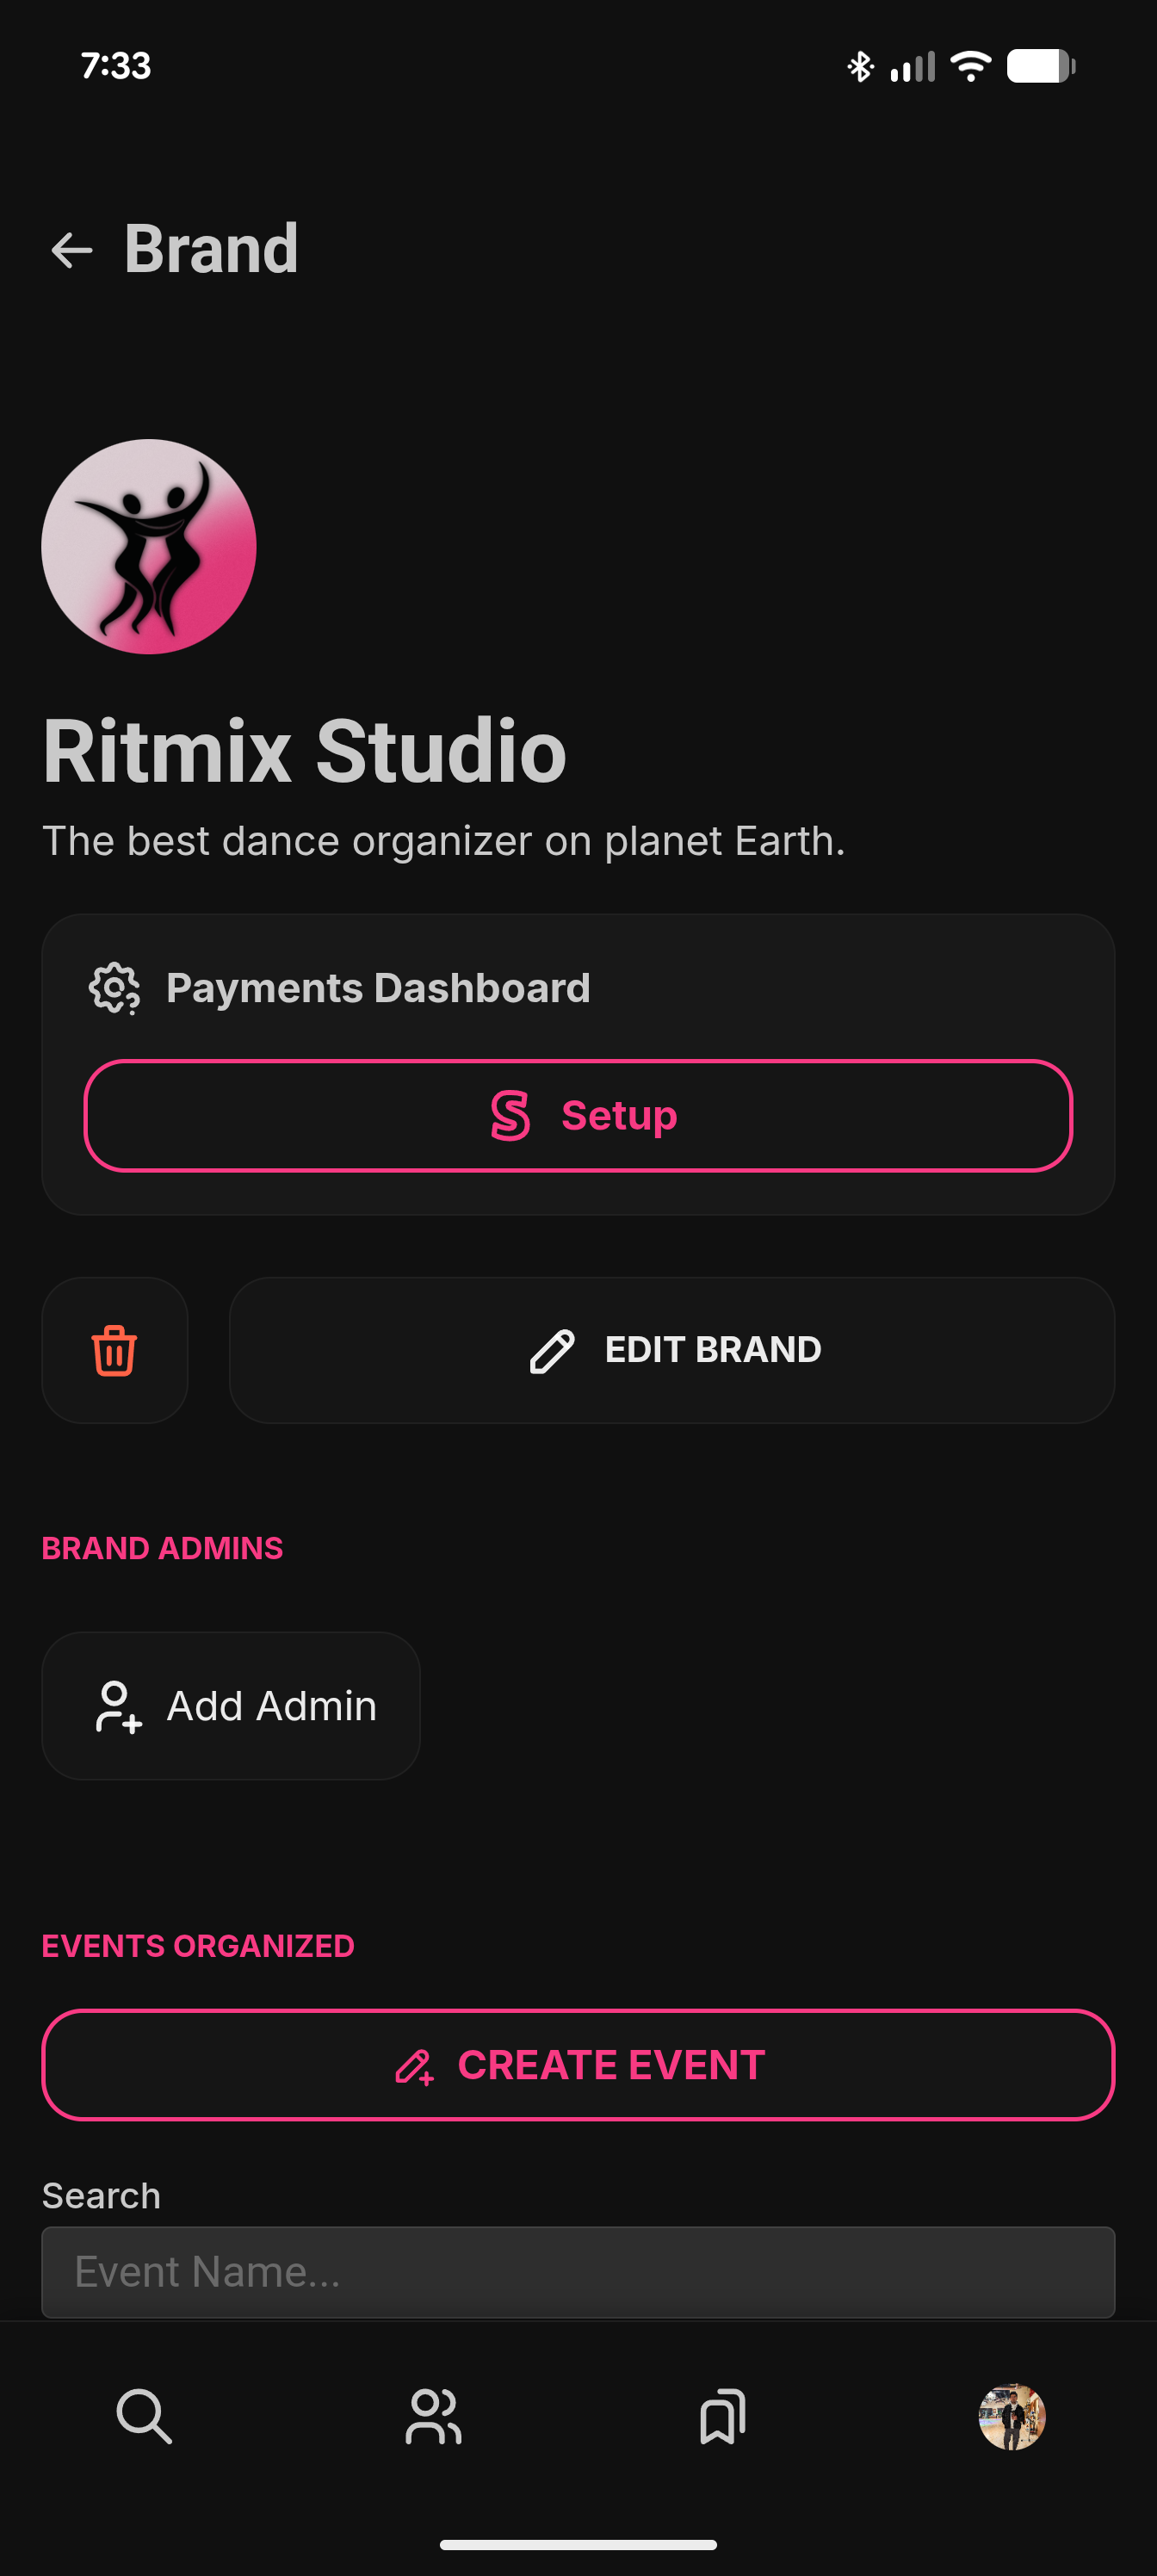
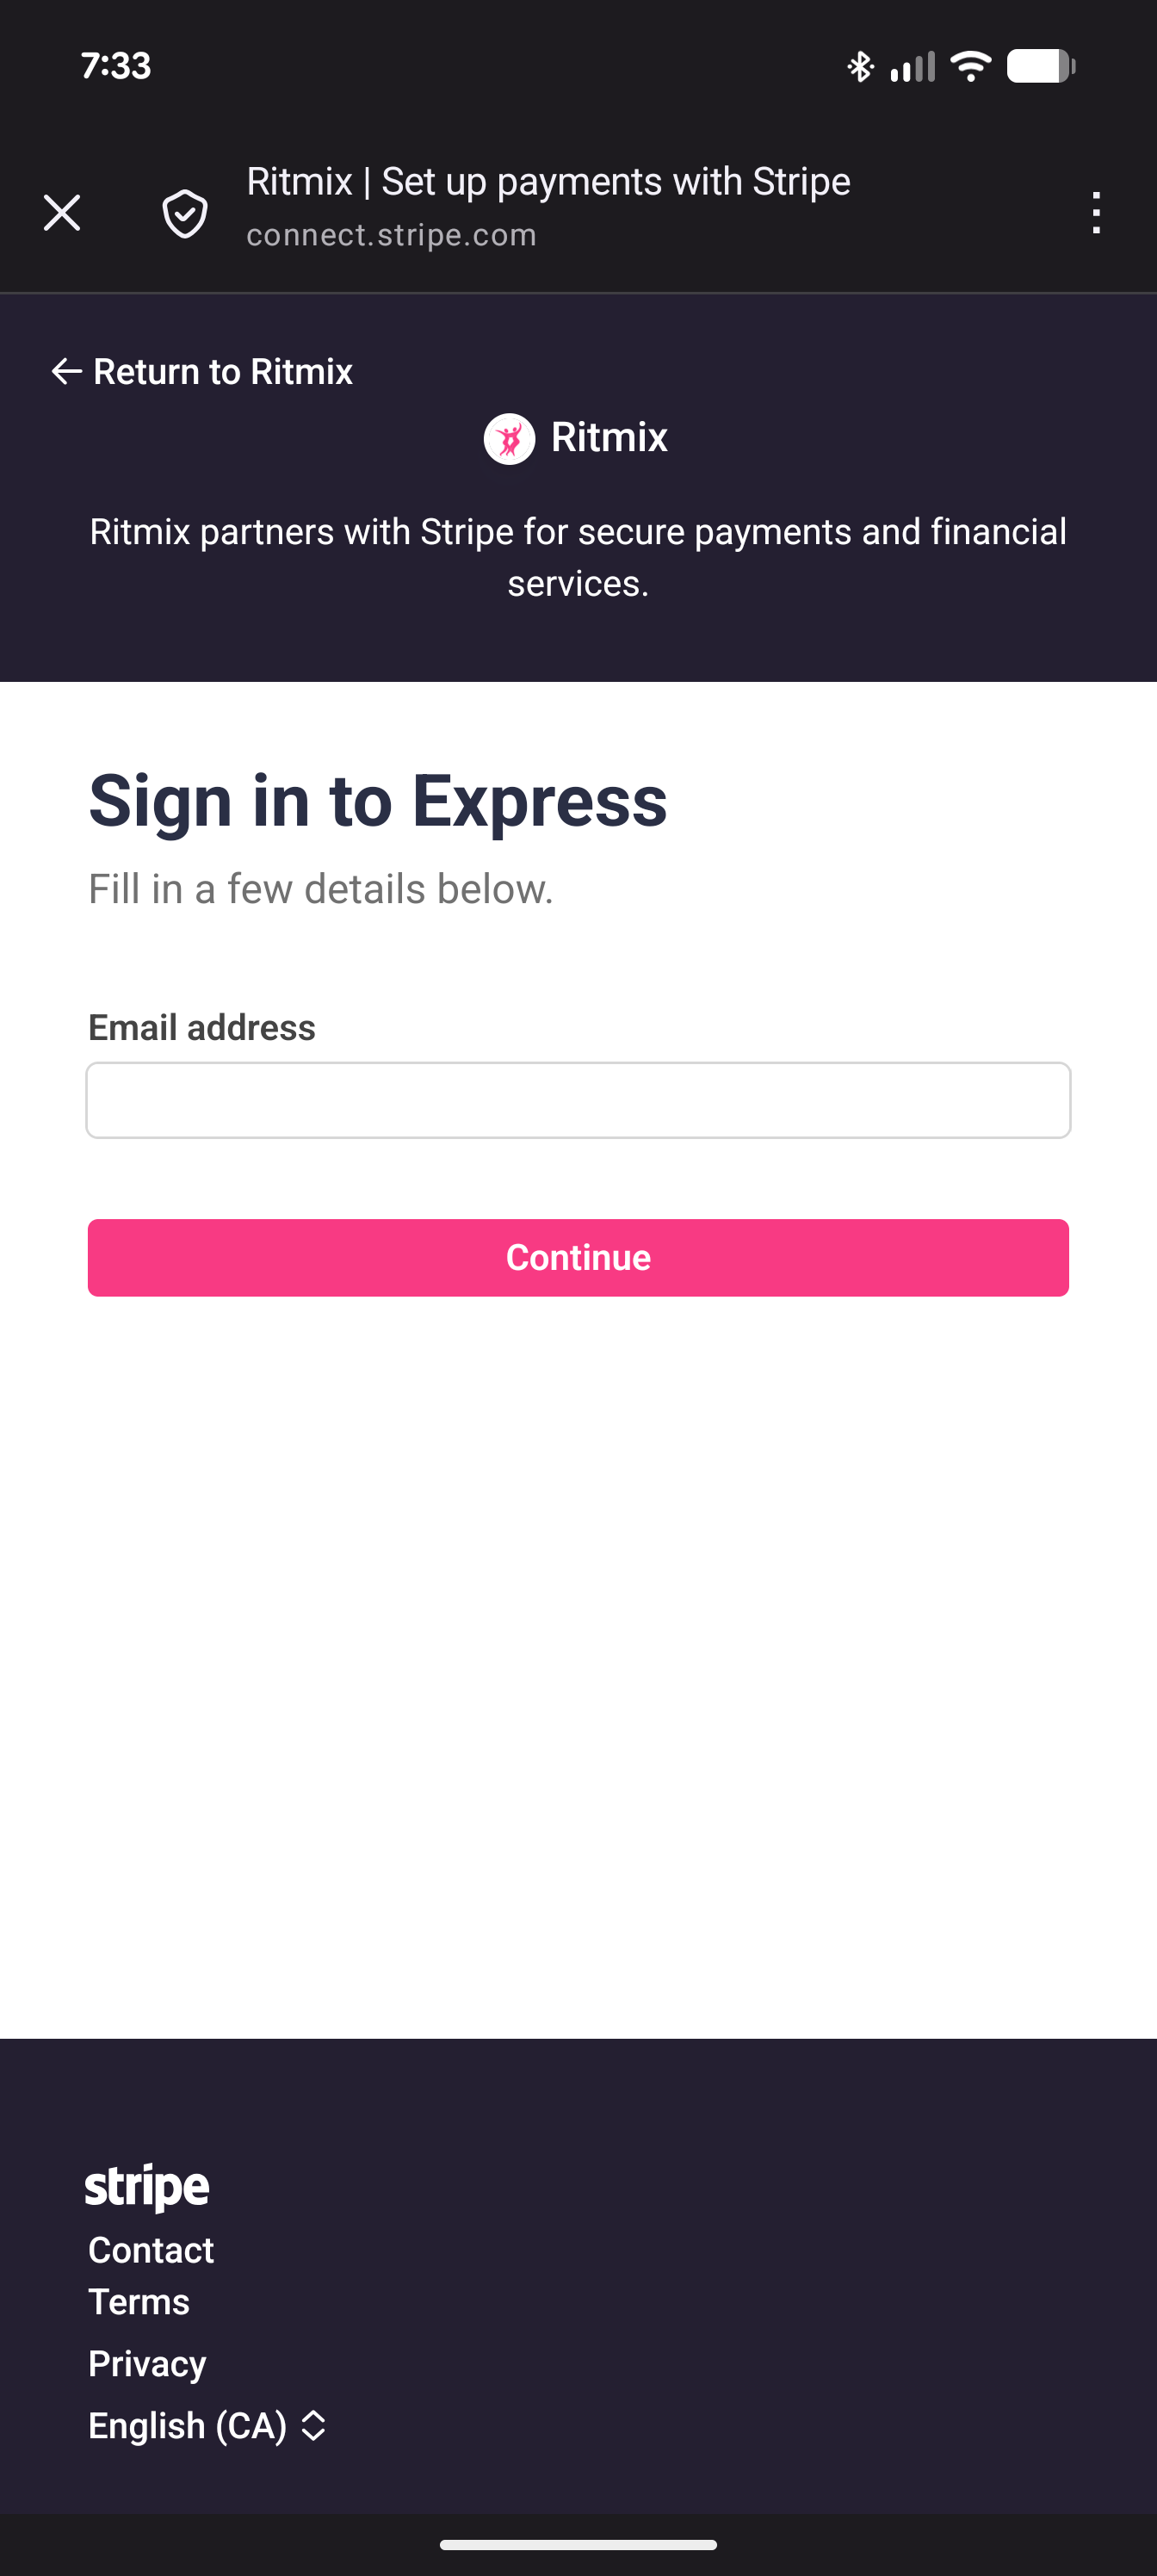
Click on Setup to connect your bank account. You will be redirected to Stripe's setup process. Once it is complete and your identity has been verified, you will be able to create events.
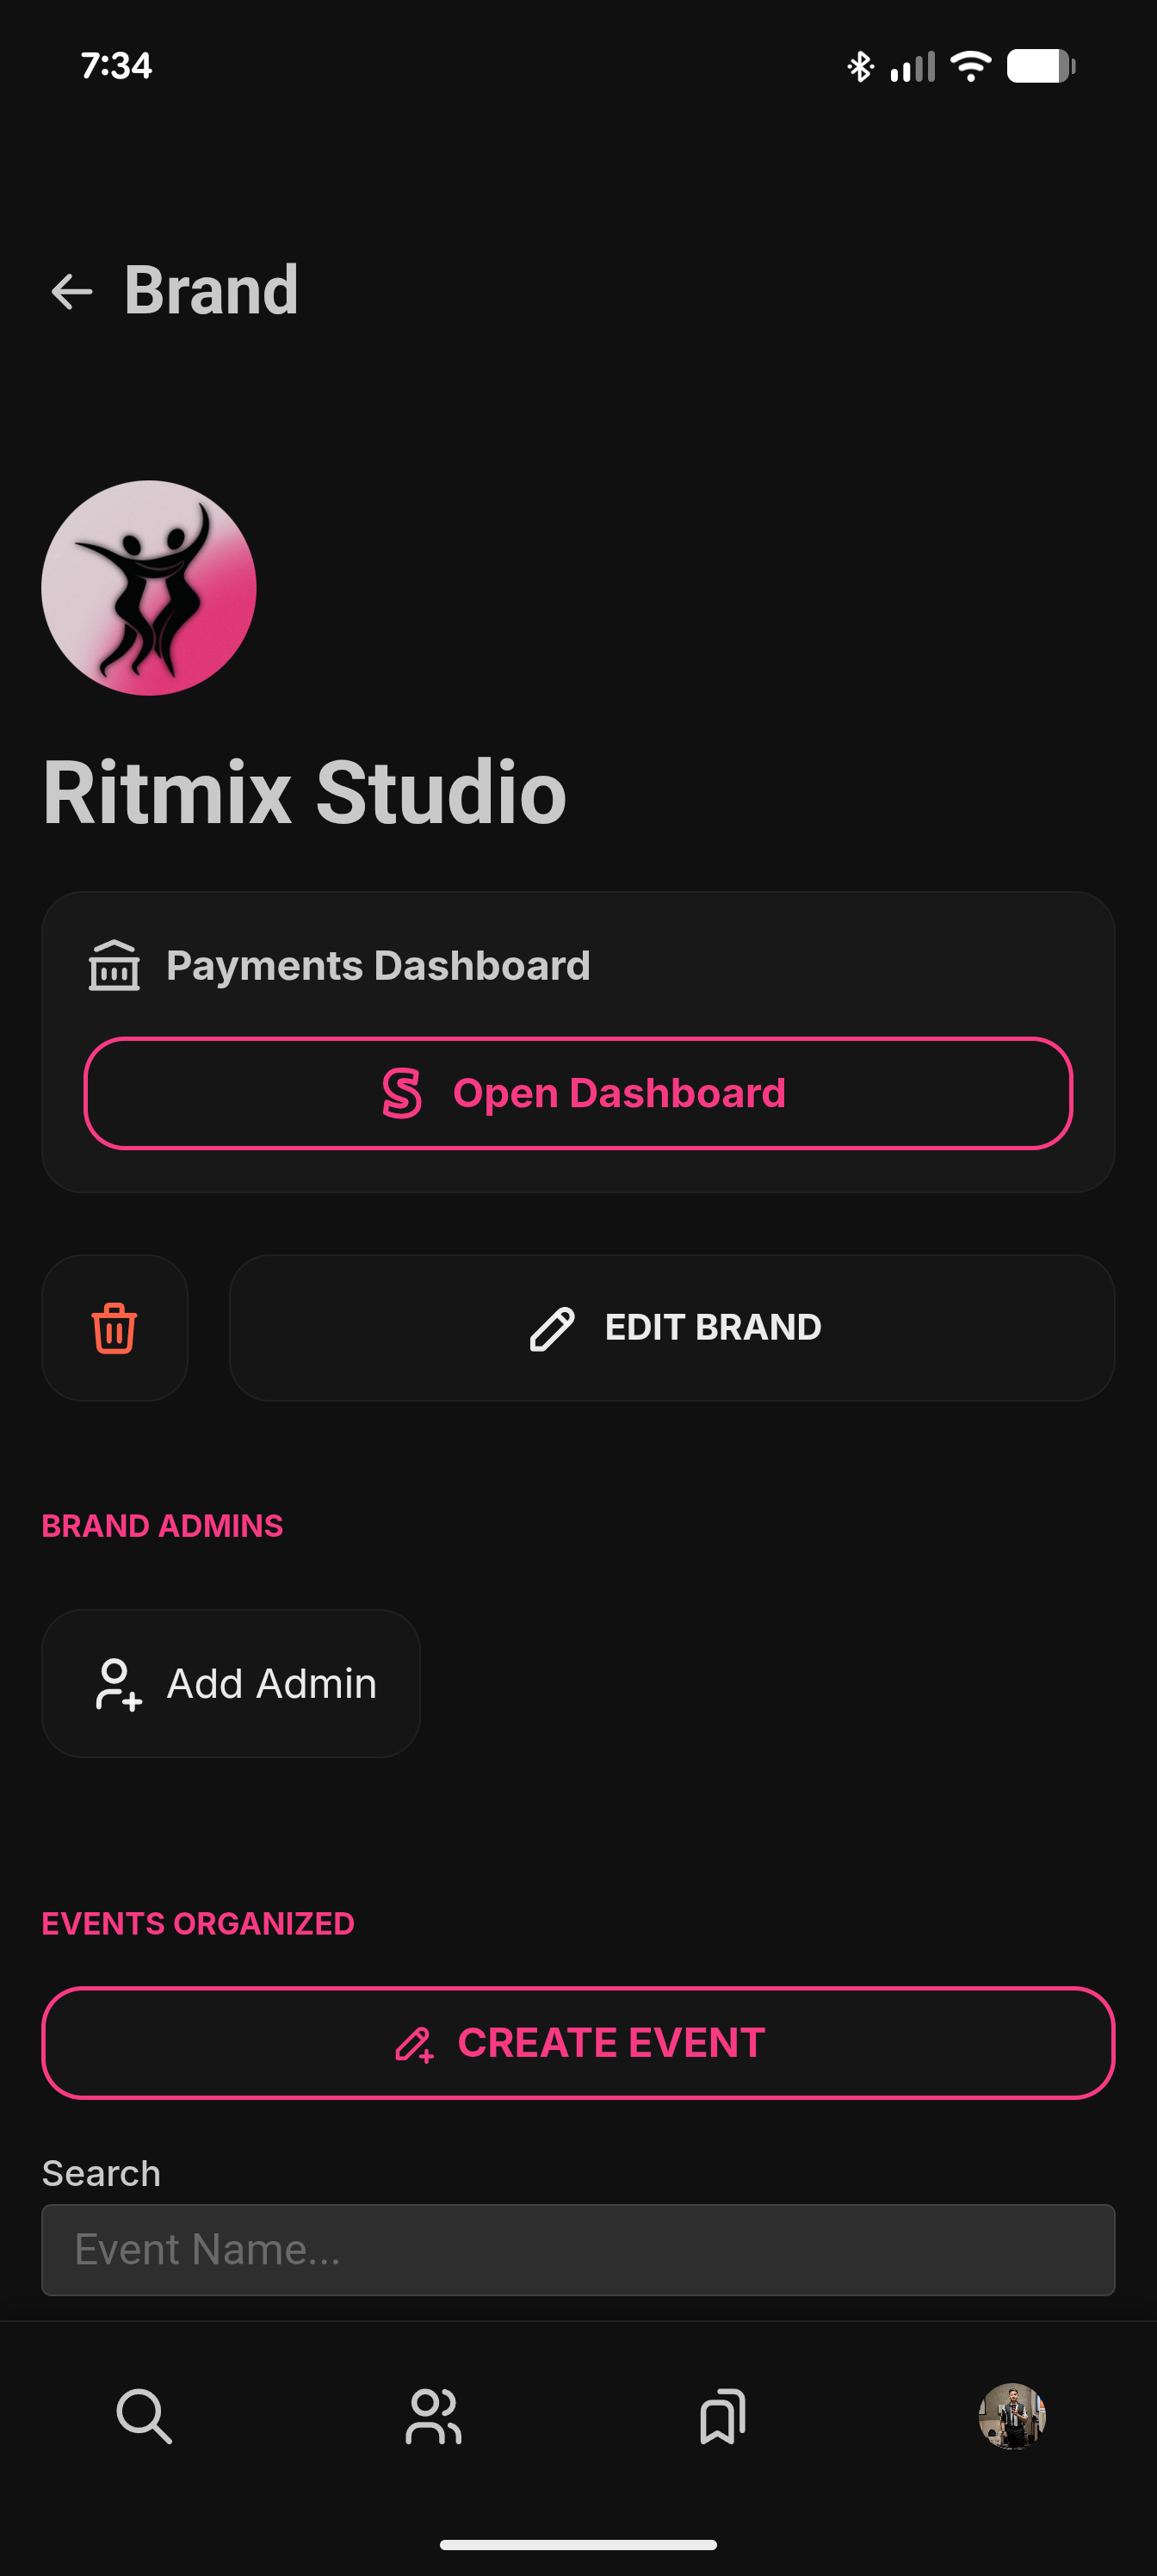
If setup correctly, you will see a button that says Open Dashboard.
Step 4: Create Your Event
To create an event, go to...
- Profile
- Settings
- Brands
- Select Your Brand
- Create Event
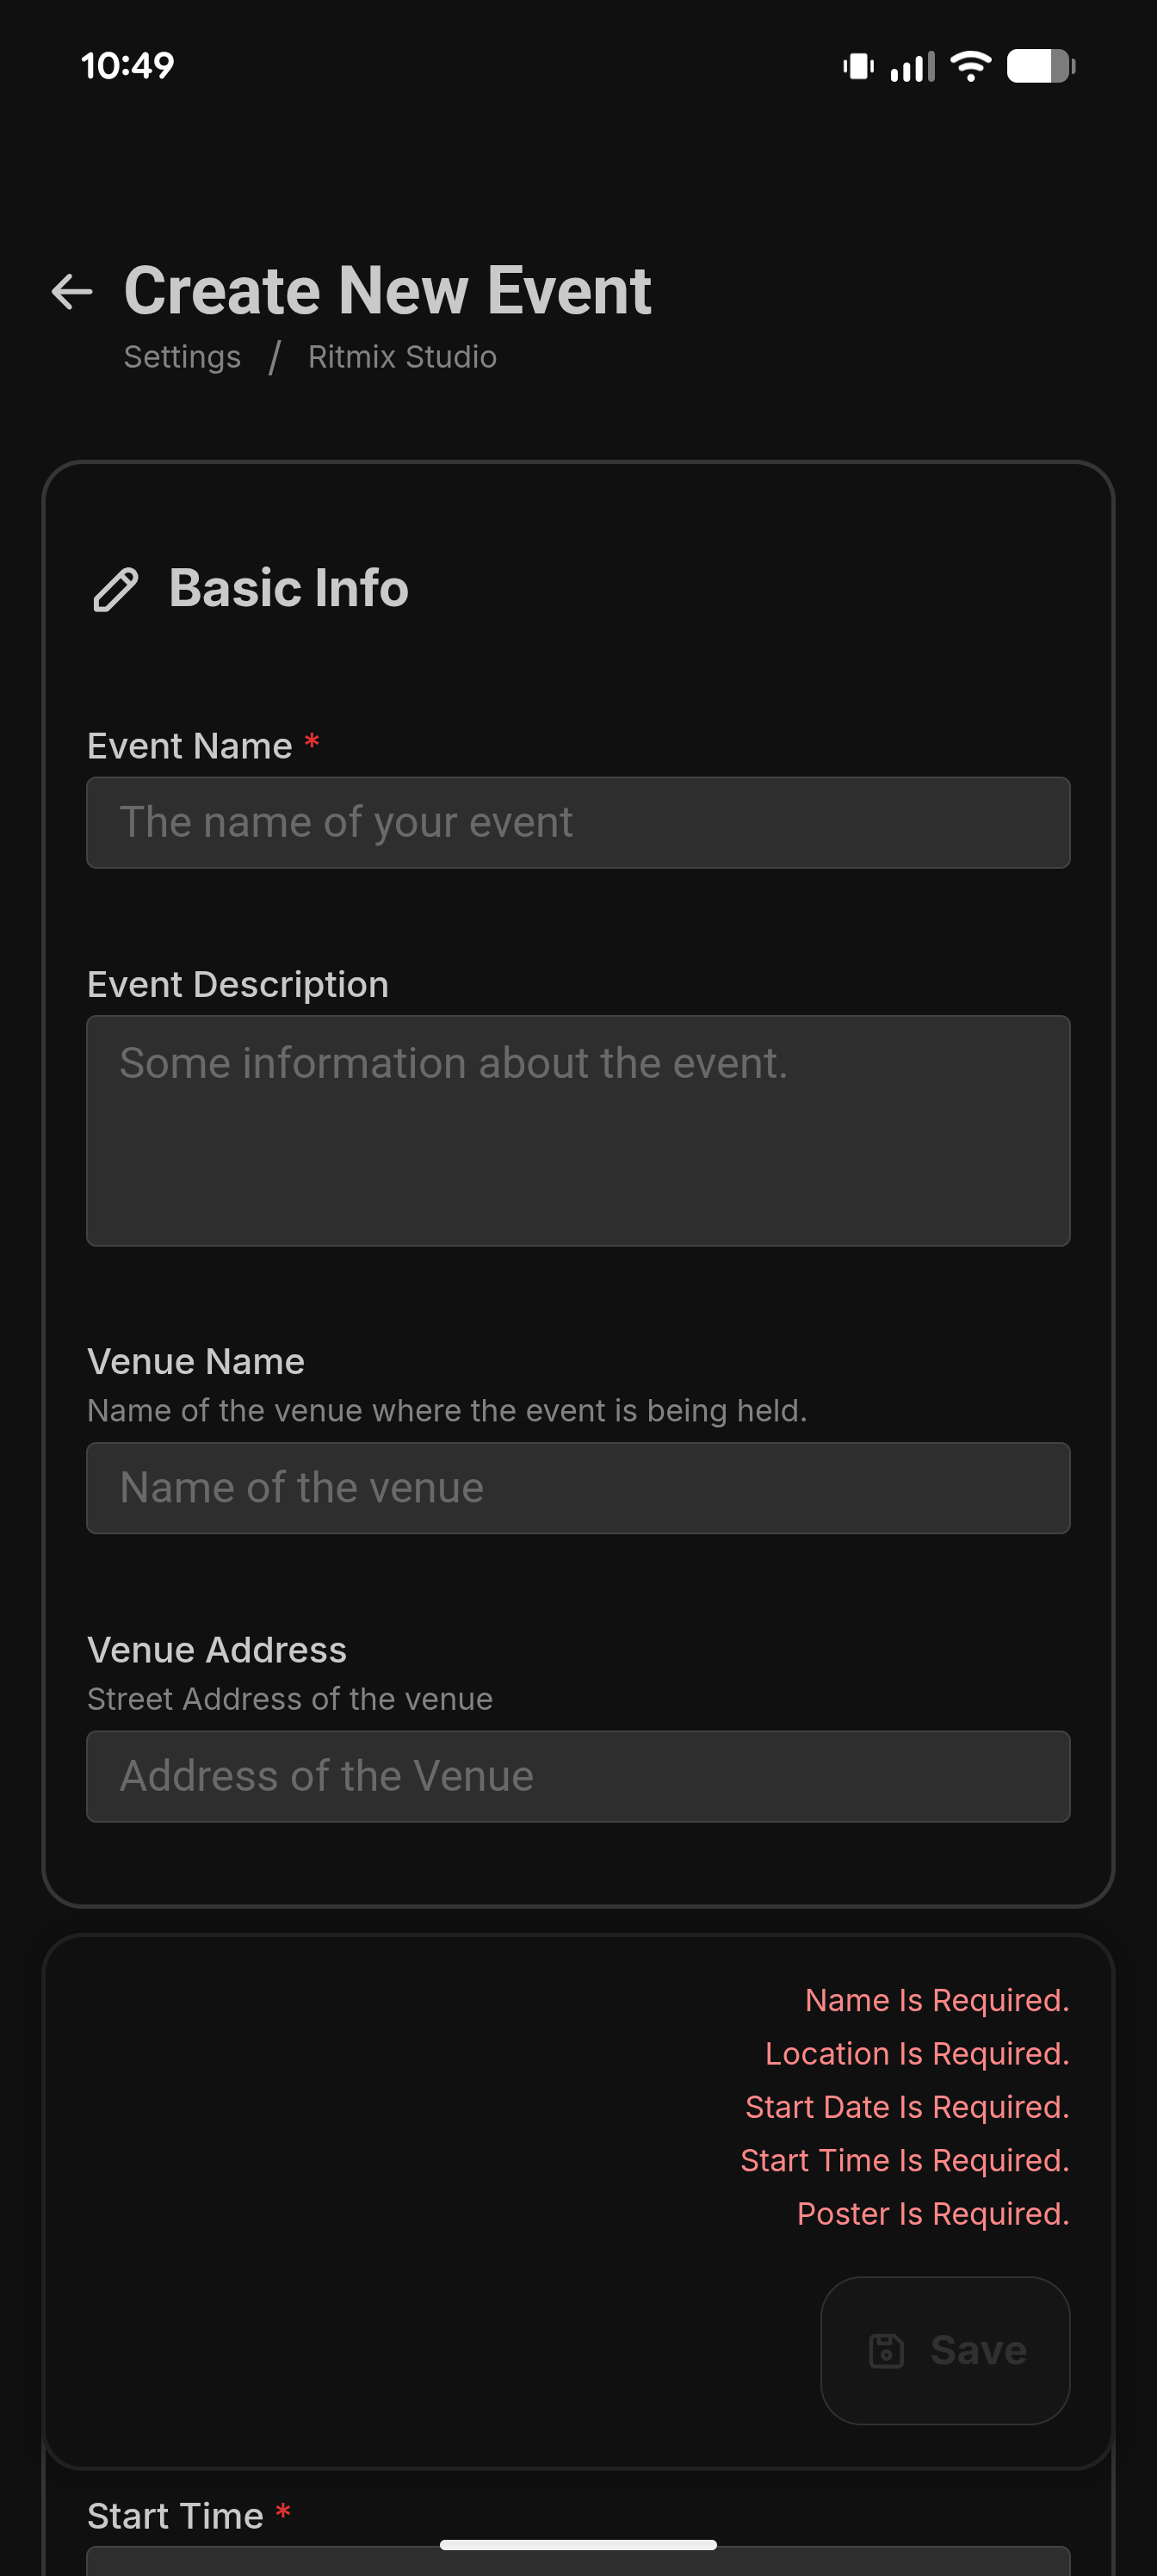
Fill in the details to create your event. Here’s a quick overview of each section:
-
Basic Info:
- Event Name: The name of your event.
- Event Description: A description with all the important information about your event.
- Venue Name: The name of the venue where your event will take place.
- Venue Address: The street address of the venue.
- Pictures: Add your event poster and cover image.
-
Event Type:
- Event Type: The main category that best describes your event.
- Also Happening: Other activities or event types happening at the same time that aren't the main focus of your event.
-
Dancing:
- Dance Forms: The dance forms featured or taught at your event.
- Welcome Skill Levels: The skill levels that are welcome at your event. This does not prevent anyone from buying a ticket. It helps dancers find events that are a good fit and is shown on your event details page.
-
Date and Time:
- Set the Start Date, Start Time, End Date, and End Time for your event.
- Repeat: Set your event to repeat daily, weekly, monthly, annually, or at a custom frequency.
- Gallery: Add additional photos from your event. These will be displayed on the event details page.
-
Promos: Create promo codes that users can use to receive a discount. For each promo, you can set:
- Promo Name: A name to help you identify the promotion.
- Promo Code: The code users will enter to receive the discount.
- Promo Discount Type: Choose between a percentage discount or a fixed amount.
- Amount: The amount of the discount.
- Expiry Date: The date the promotion expires. Leave this blank if the promotion should never expire.
- Number of Promotions: Set a limit on how many times the promotion can be used.
-
Tickets: Create the tickets that users can purchase for your event. For each ticket, you can set:
- Ticket Name: The name of the ticket.
- Ticket Cost: The price of the ticket.
- Available Quantity: The number of tickets available for purchase.
- Last Date: The last date users can purchase the ticket. If left blank, tickets can be purchased until the event end date.
- Last Time: The last time users can purchase the ticket. If left blank, tickets can be purchased until the event end time.
- Online: If enabled, users can purchase the ticket directly through the app.
- At The Door: If enabled, the ticket will appear as available to users. If Online is disabled, users won't be able to purchase it through the app and will only see that it is available at the door.
-
Publishing:
- Published: Makes your event live and discoverable by users.
- Cancelled: Marks the event as cancelled and removes it from discovery.
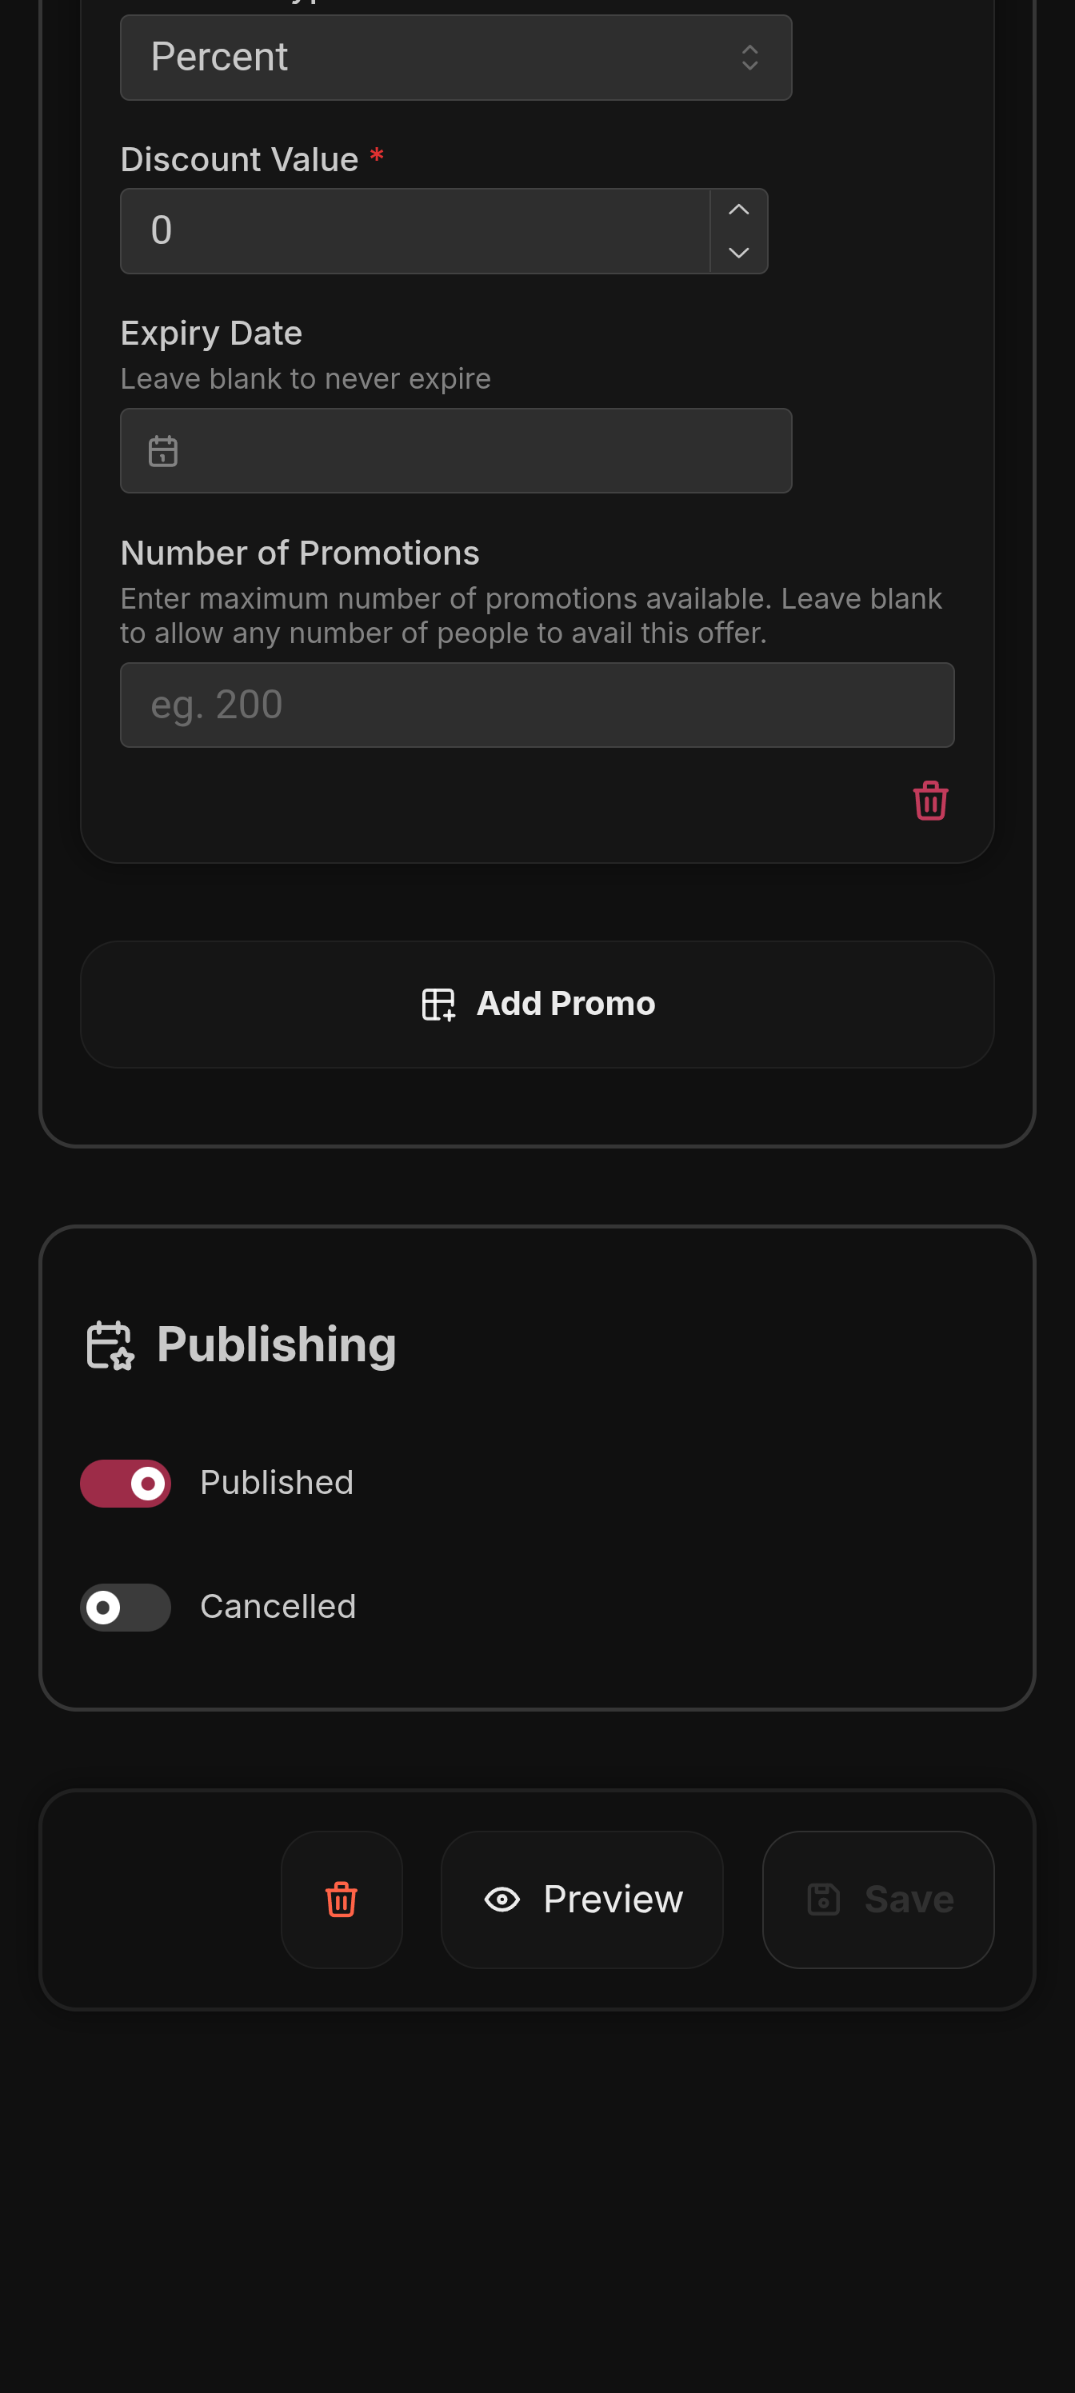
Once all the details are entered, you may click on Preview to see a preview of the event. If everything looks good, mark the event as Published, and hit Save.
Congratulations!
Your event should now be live on Ritmix!